Food security and being able to store food without refrigeration is something that is really important to us as we look towards being a little more off grid and self sufficient. Dry food storage is great too, but canning allows you to store food that needs minimal preparation and it captures the flavors of the fresh produce. We decided that 2021 would be the year we learned to water bath can. This post is a list of what we accomplished and two failures we experienced.
1. June – Strawberries into jam (with pectin)
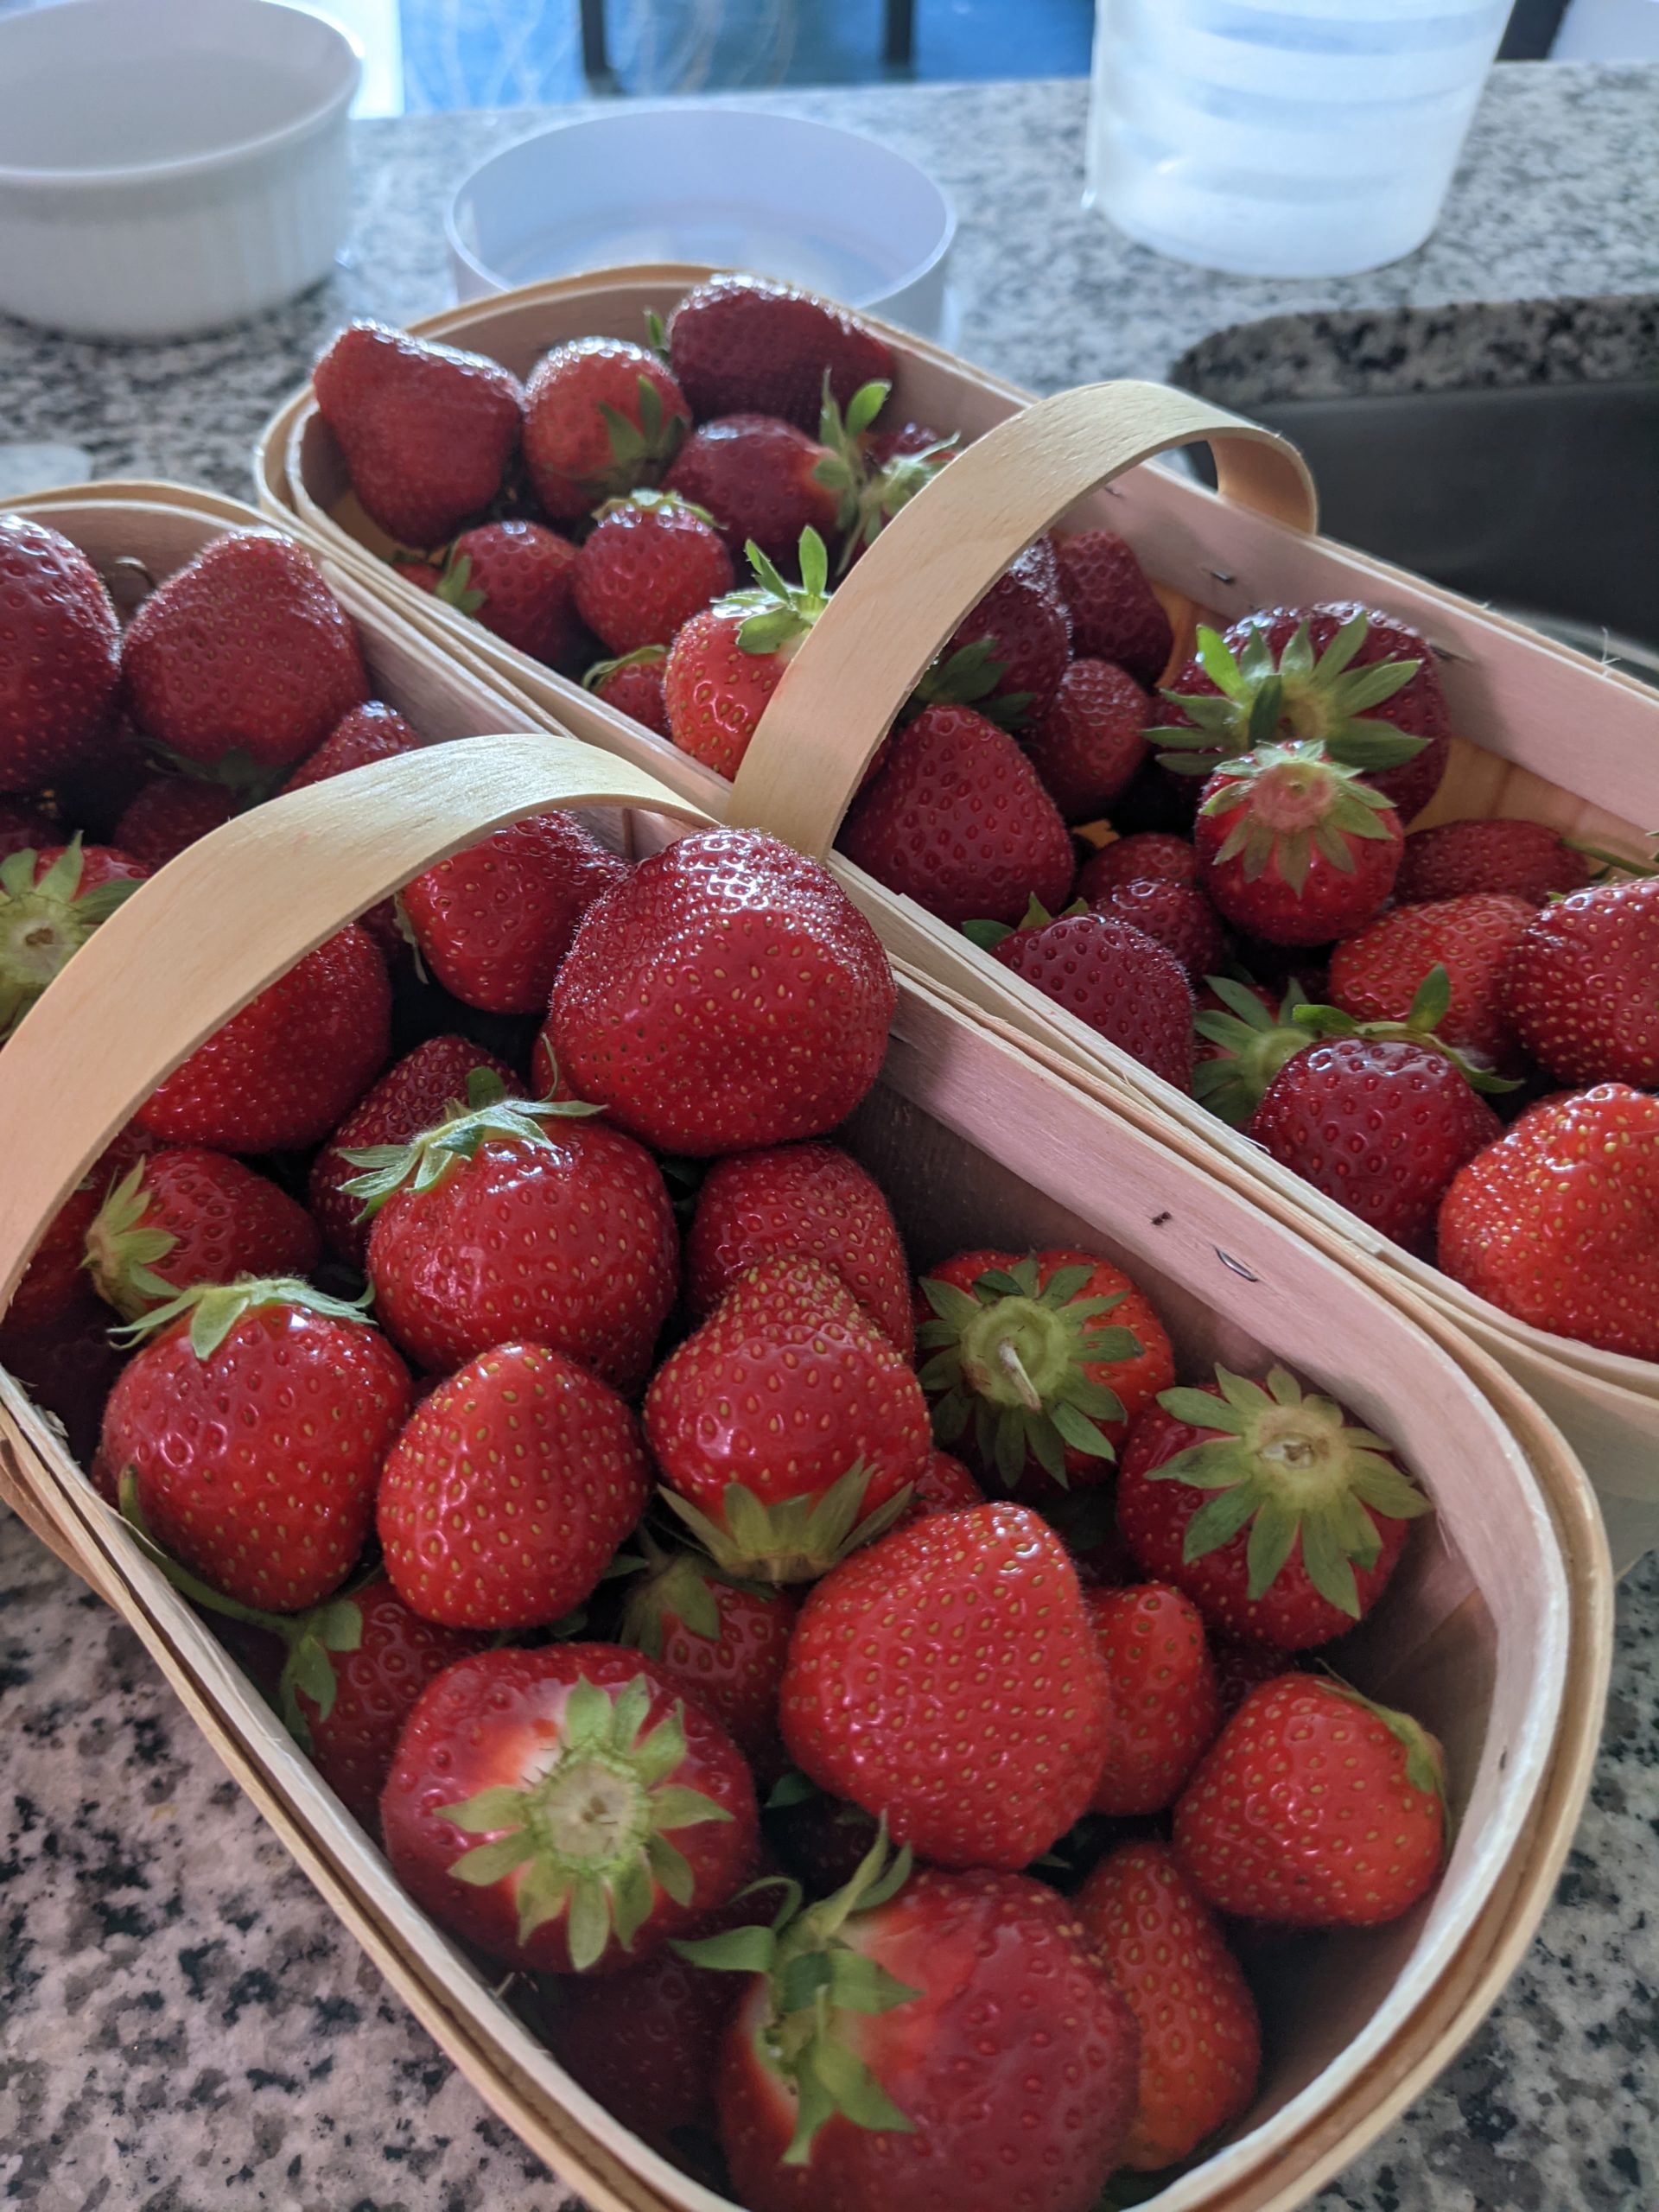
About $30 of strawberries. Worth it! 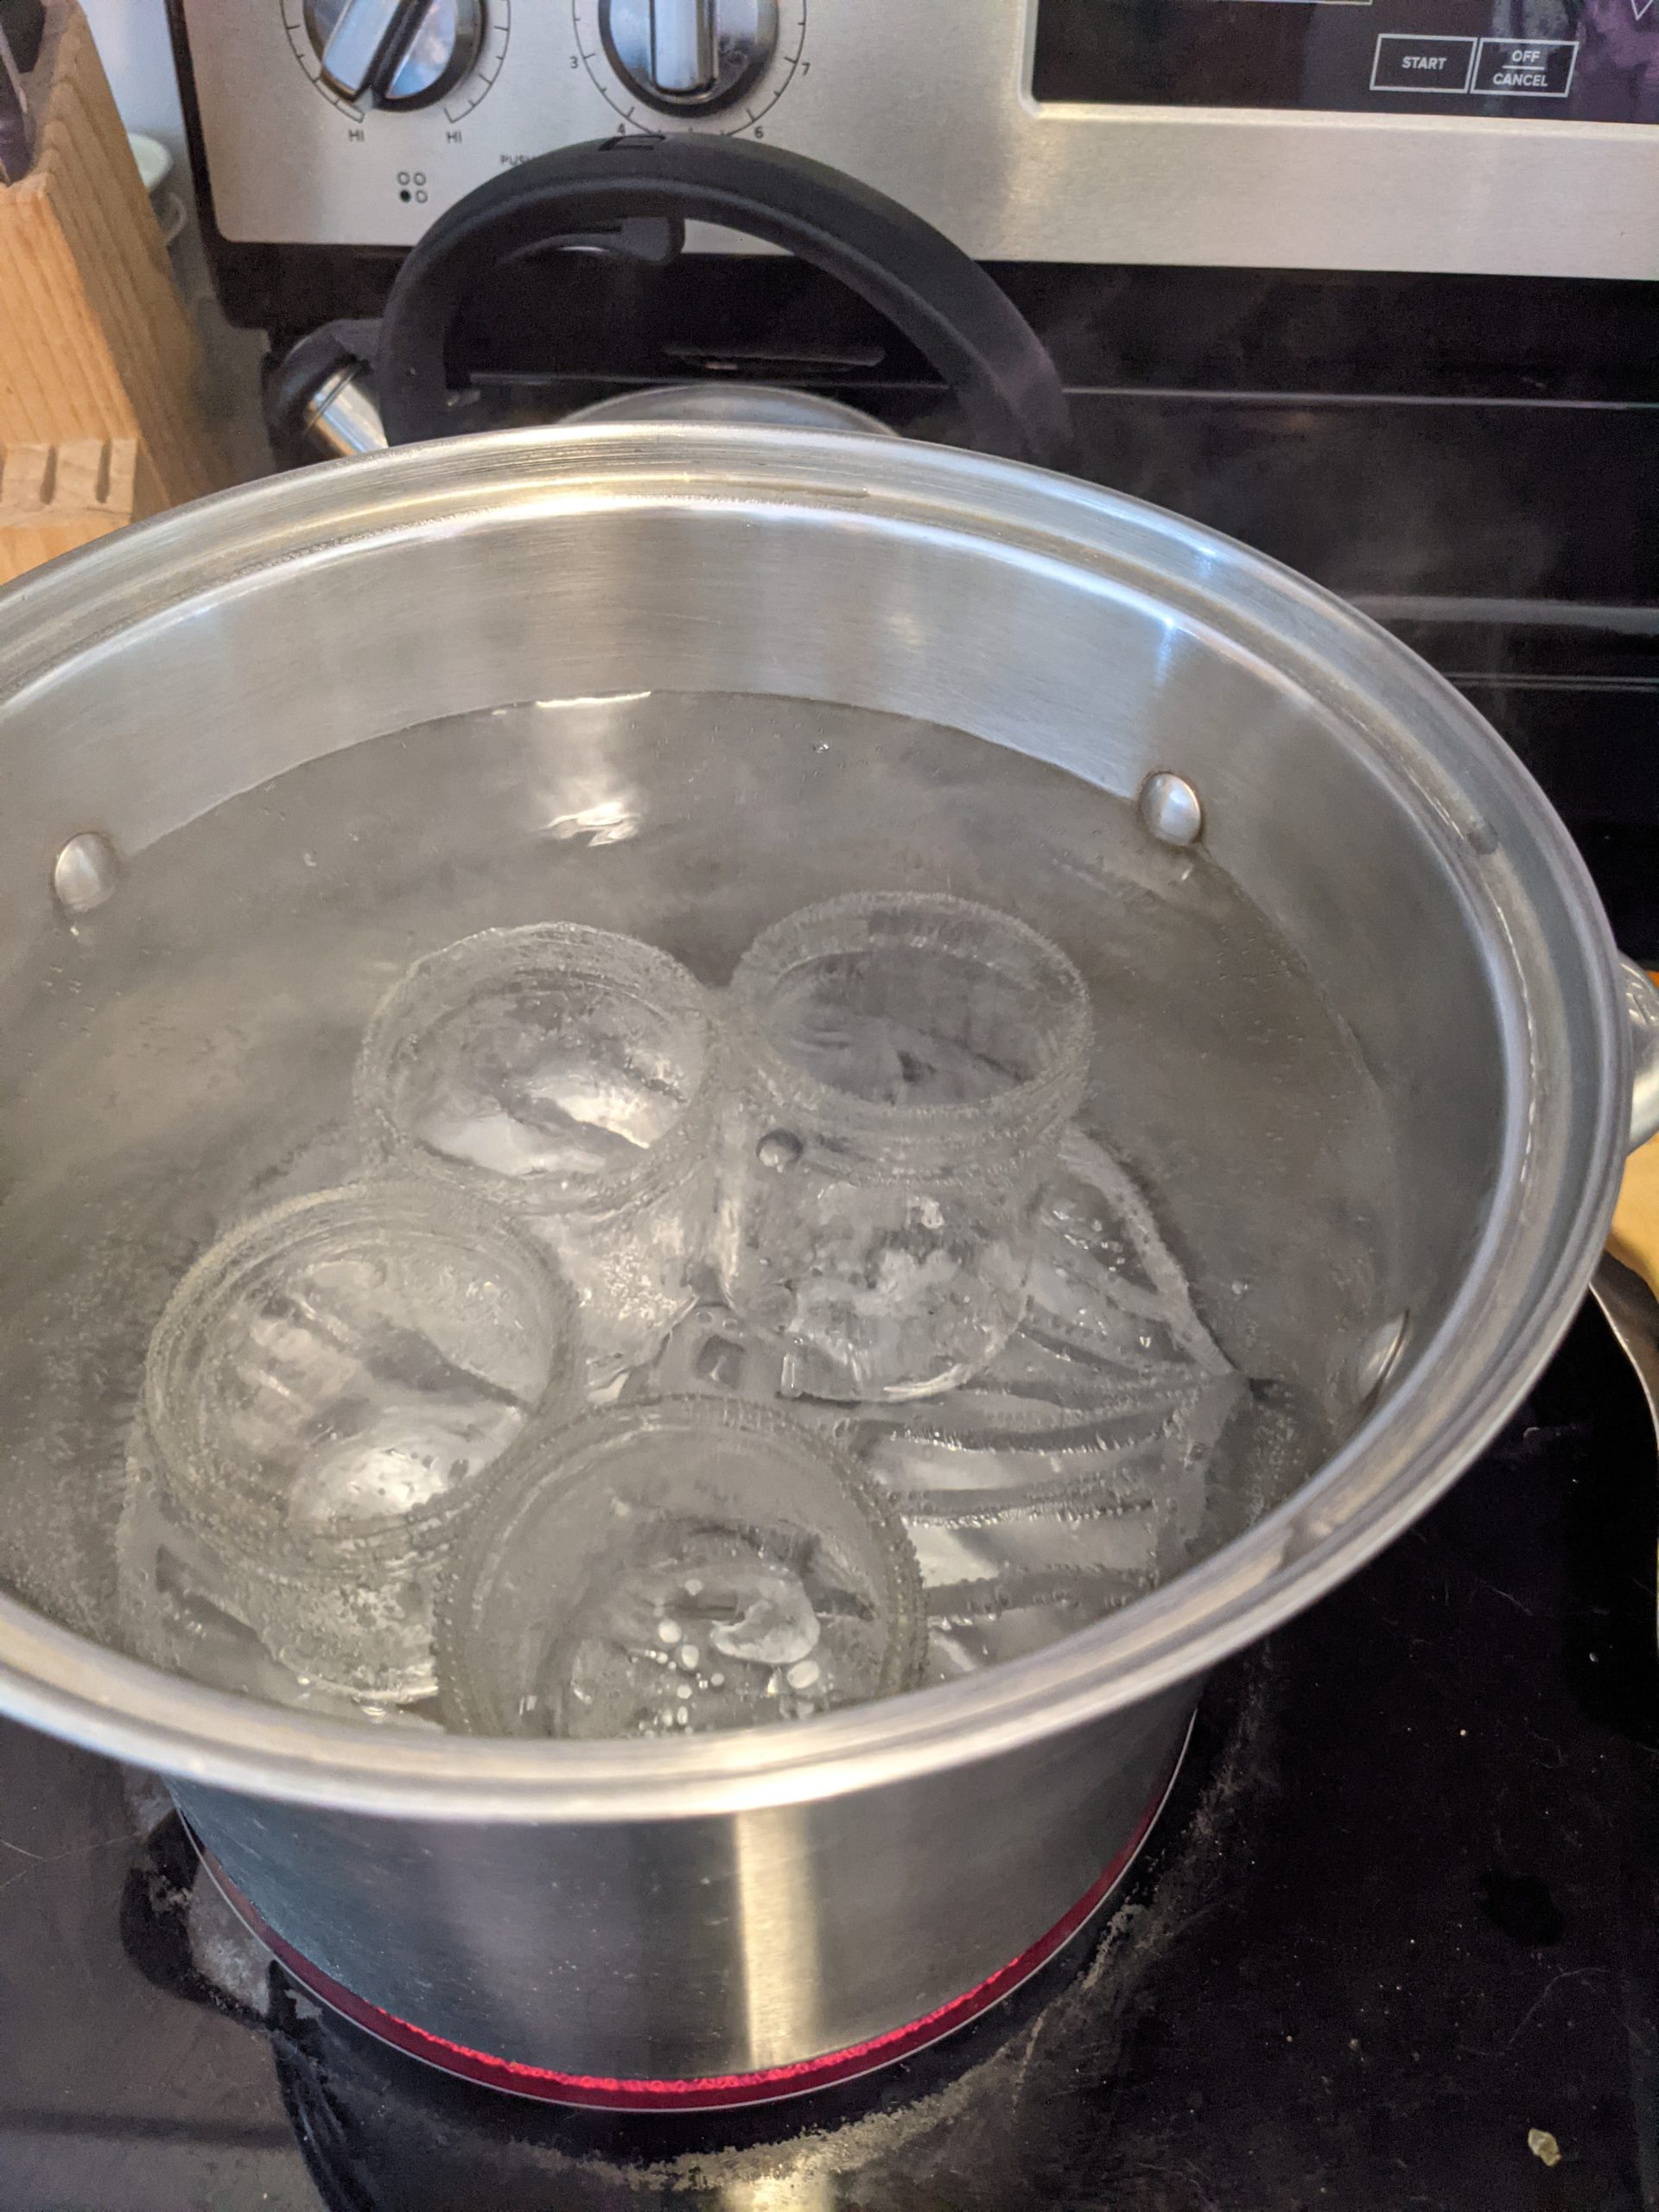
Our makeshift water bath canner 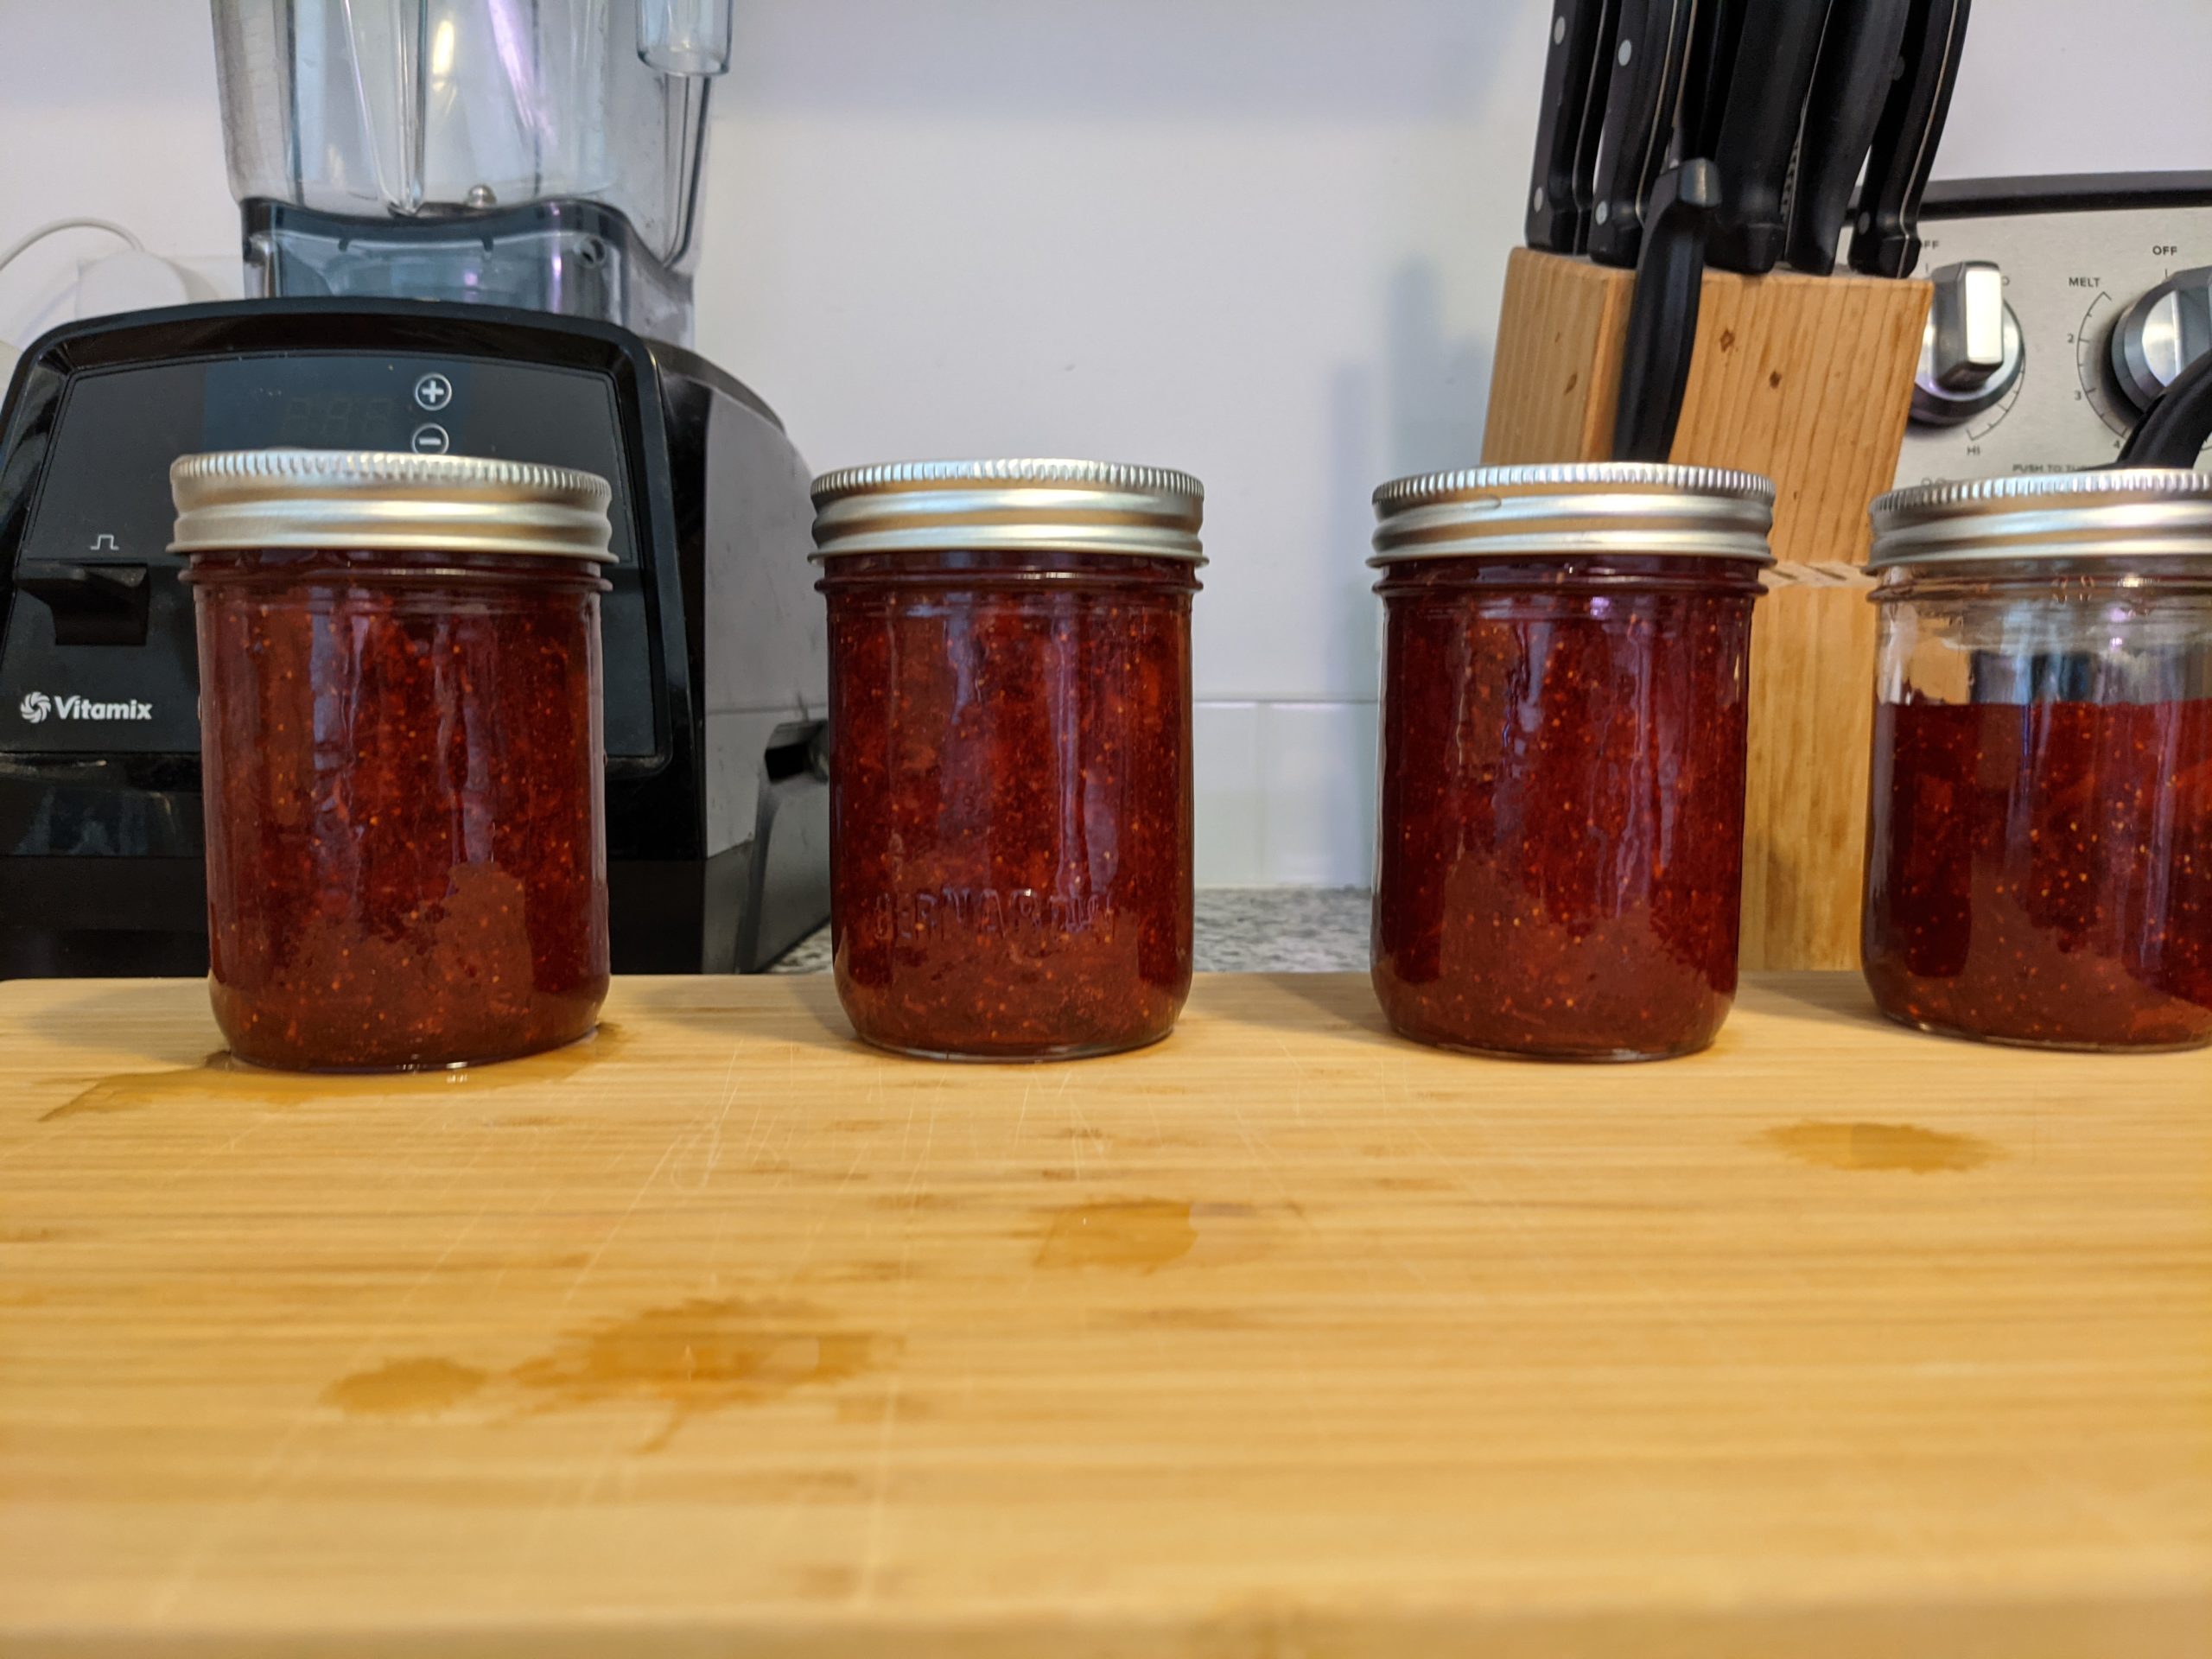
Three shelf stable jars, one for the fridge
Our original intent was to go berry picking, but due to the pandemic we decided to just purchase some local strawberries from a farm stand. This was done at our apartment before the move to the house.
Equipment: We purchased a Preserving Starter Kit that included pectin, 4 jars, funnel, tongs, headspace tool, and a silicon mat for use with an existing pot (~$30).
Recipe: We followed the recipe in the starter kit box, which seems like a version of this Bernardin recipe, but with smaller quantities.
Lessons learned: We bought way too many strawberries, but didn’t prepare enough of them in the jam. We measured the whole berries, not the crushed berries. By the time we realized our mistake, we already had cooked the jam and we didn’t want to add anything else to it.
Yield: 3 shelf stable jars (250 mL) and one half filled jar for the fridge.
2. June – Raspberries into Jam (with no-sugar needed pectin)
These jars didn’t make it into any photos, it seems! The raspberries were from a local farmers market. We found the strawberry jam to be really sweet, so we looked at low sugar options. We found no-sugar pectin at a local hardware store, but what I didn’t realize is that there were no instructions for raspberries that were for water bath canning. So instead, we ended up with freezer jam. This wasn’t technically canning, but we certainly learned along the way.
Equipment: Same starter kit as above.
Recipe: We followed the recipe in the no-sugar needed pectin package, with apple juice.
Lessons learned: We will never make jam like this again. The texture was awful and it tasted weird. We think the solution is to think of jam as a sugar delivery device, accept it’s going to be sweet, and maybe just use less!
Yield: 4 jars (250 mL) for the fridge and freezer.
3. July – Blueberries into Jam (with pectin)
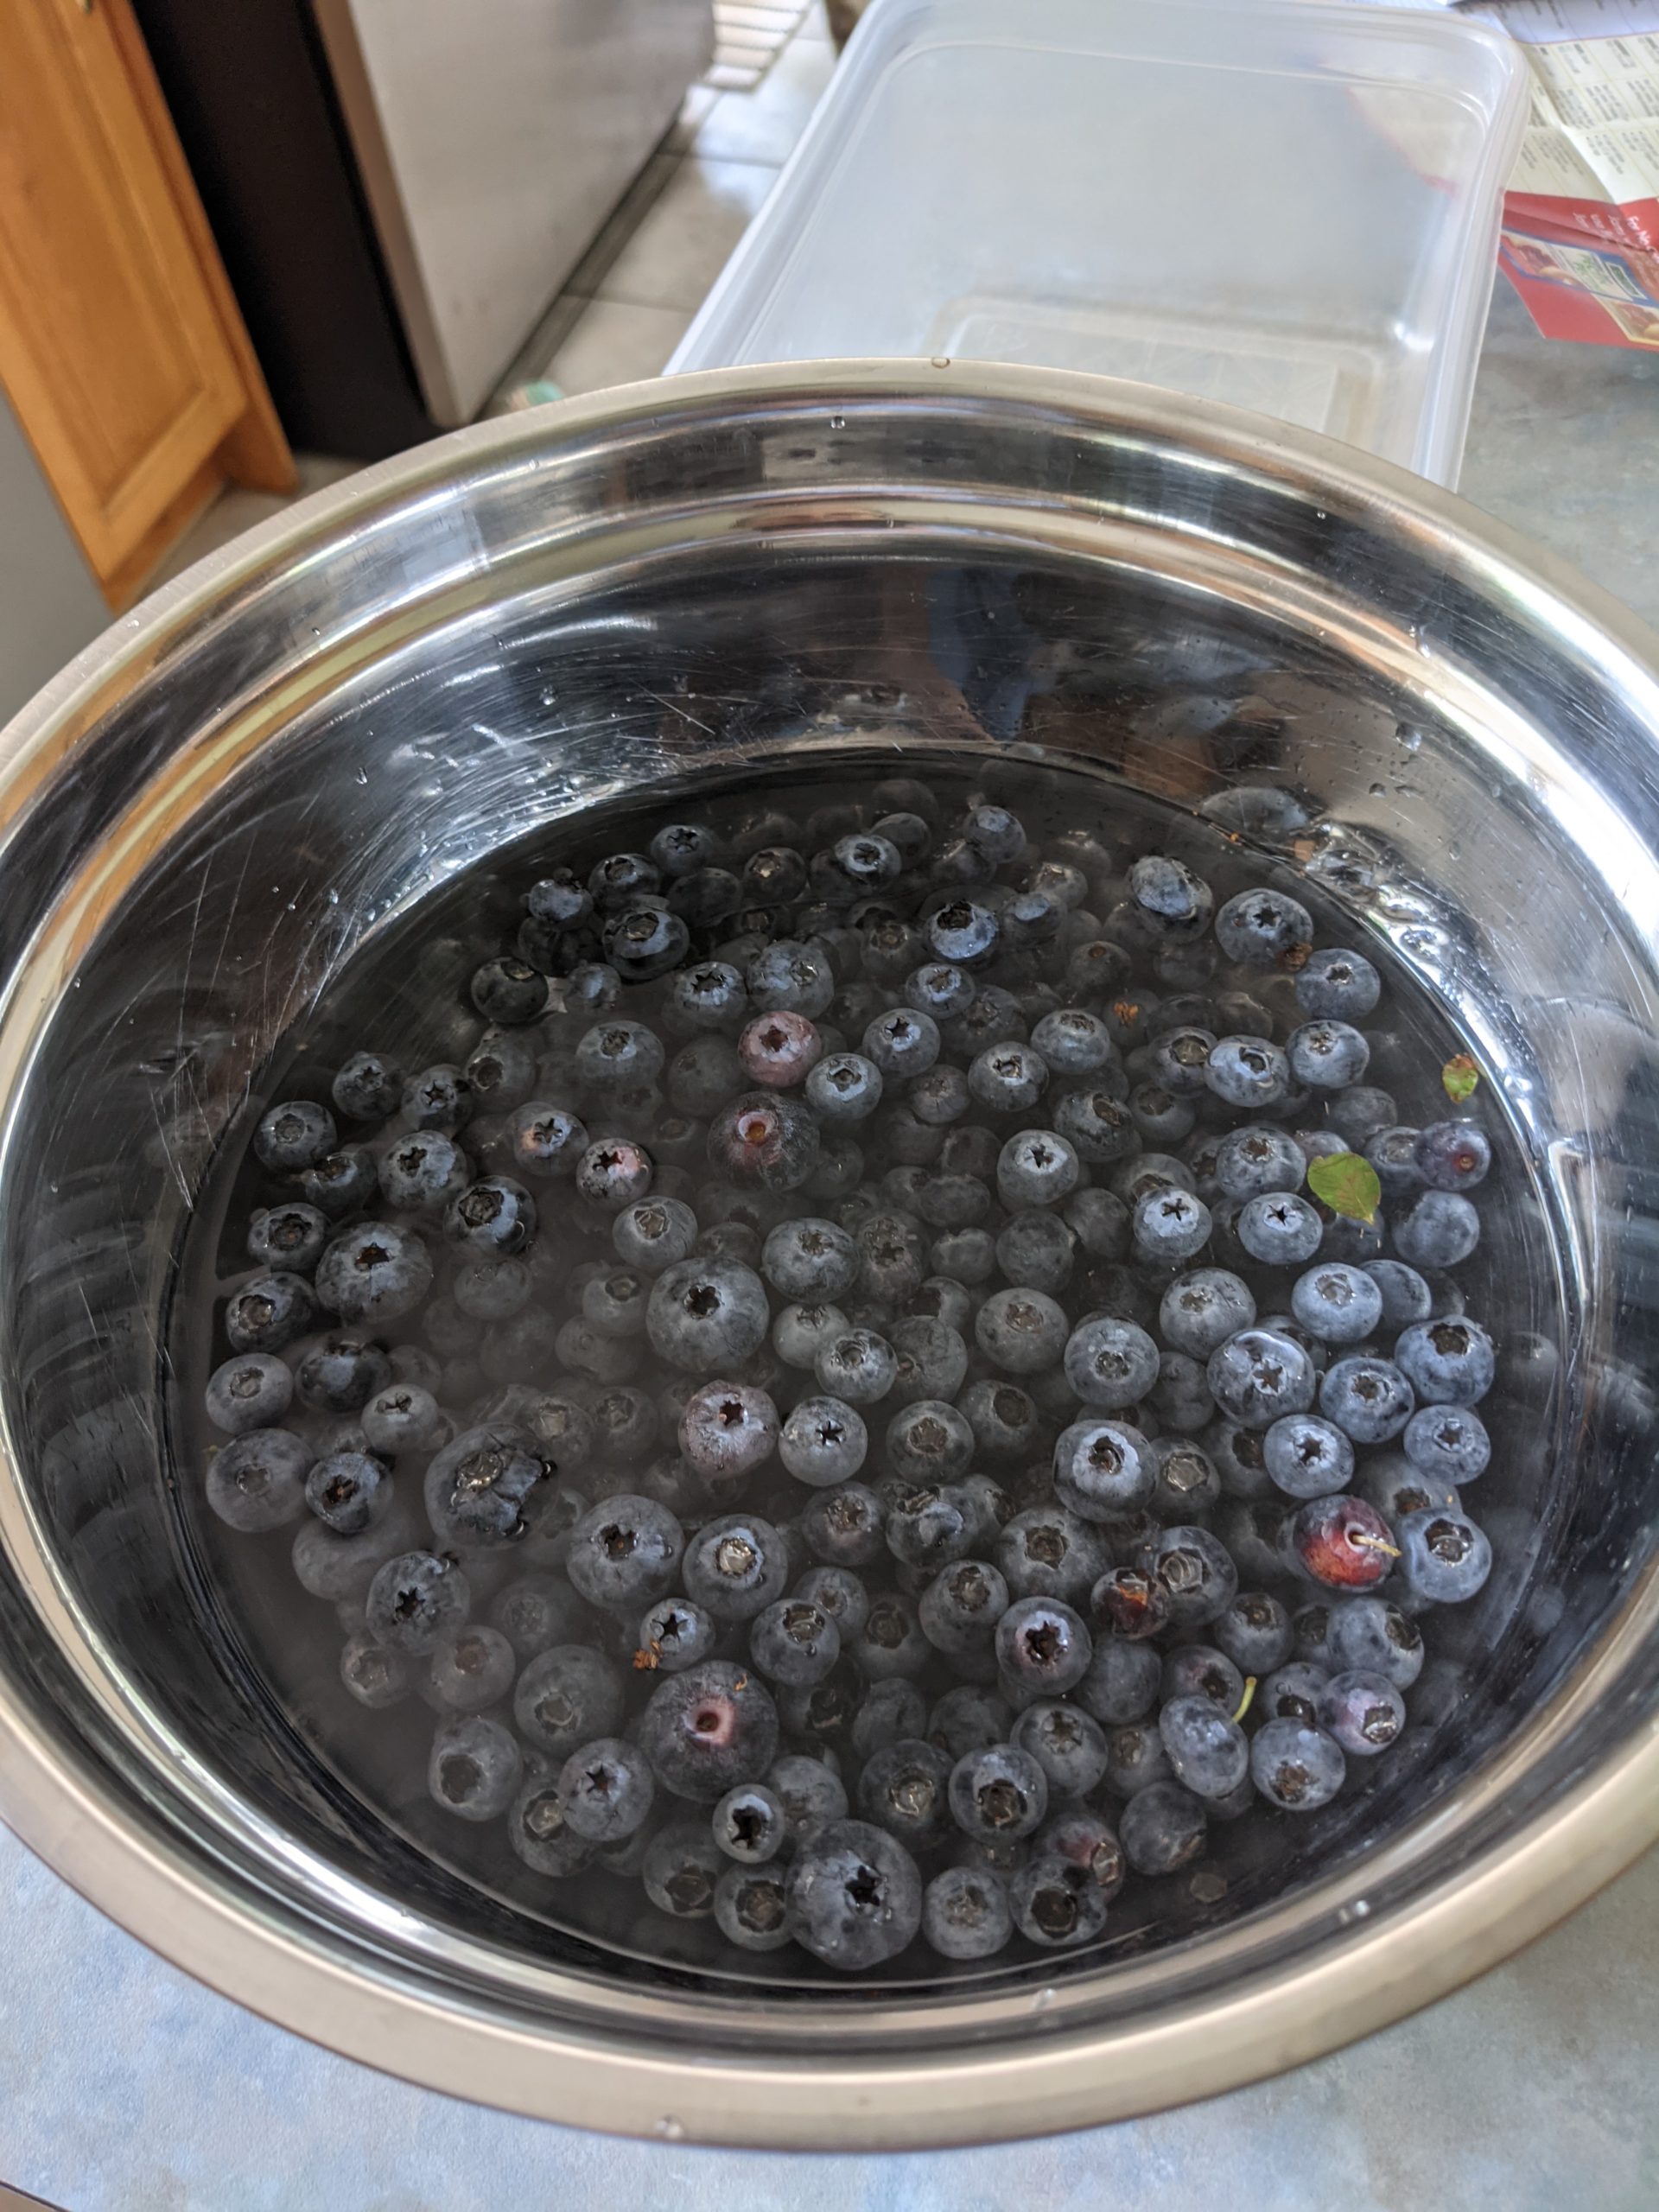
Beautiful blueberries! 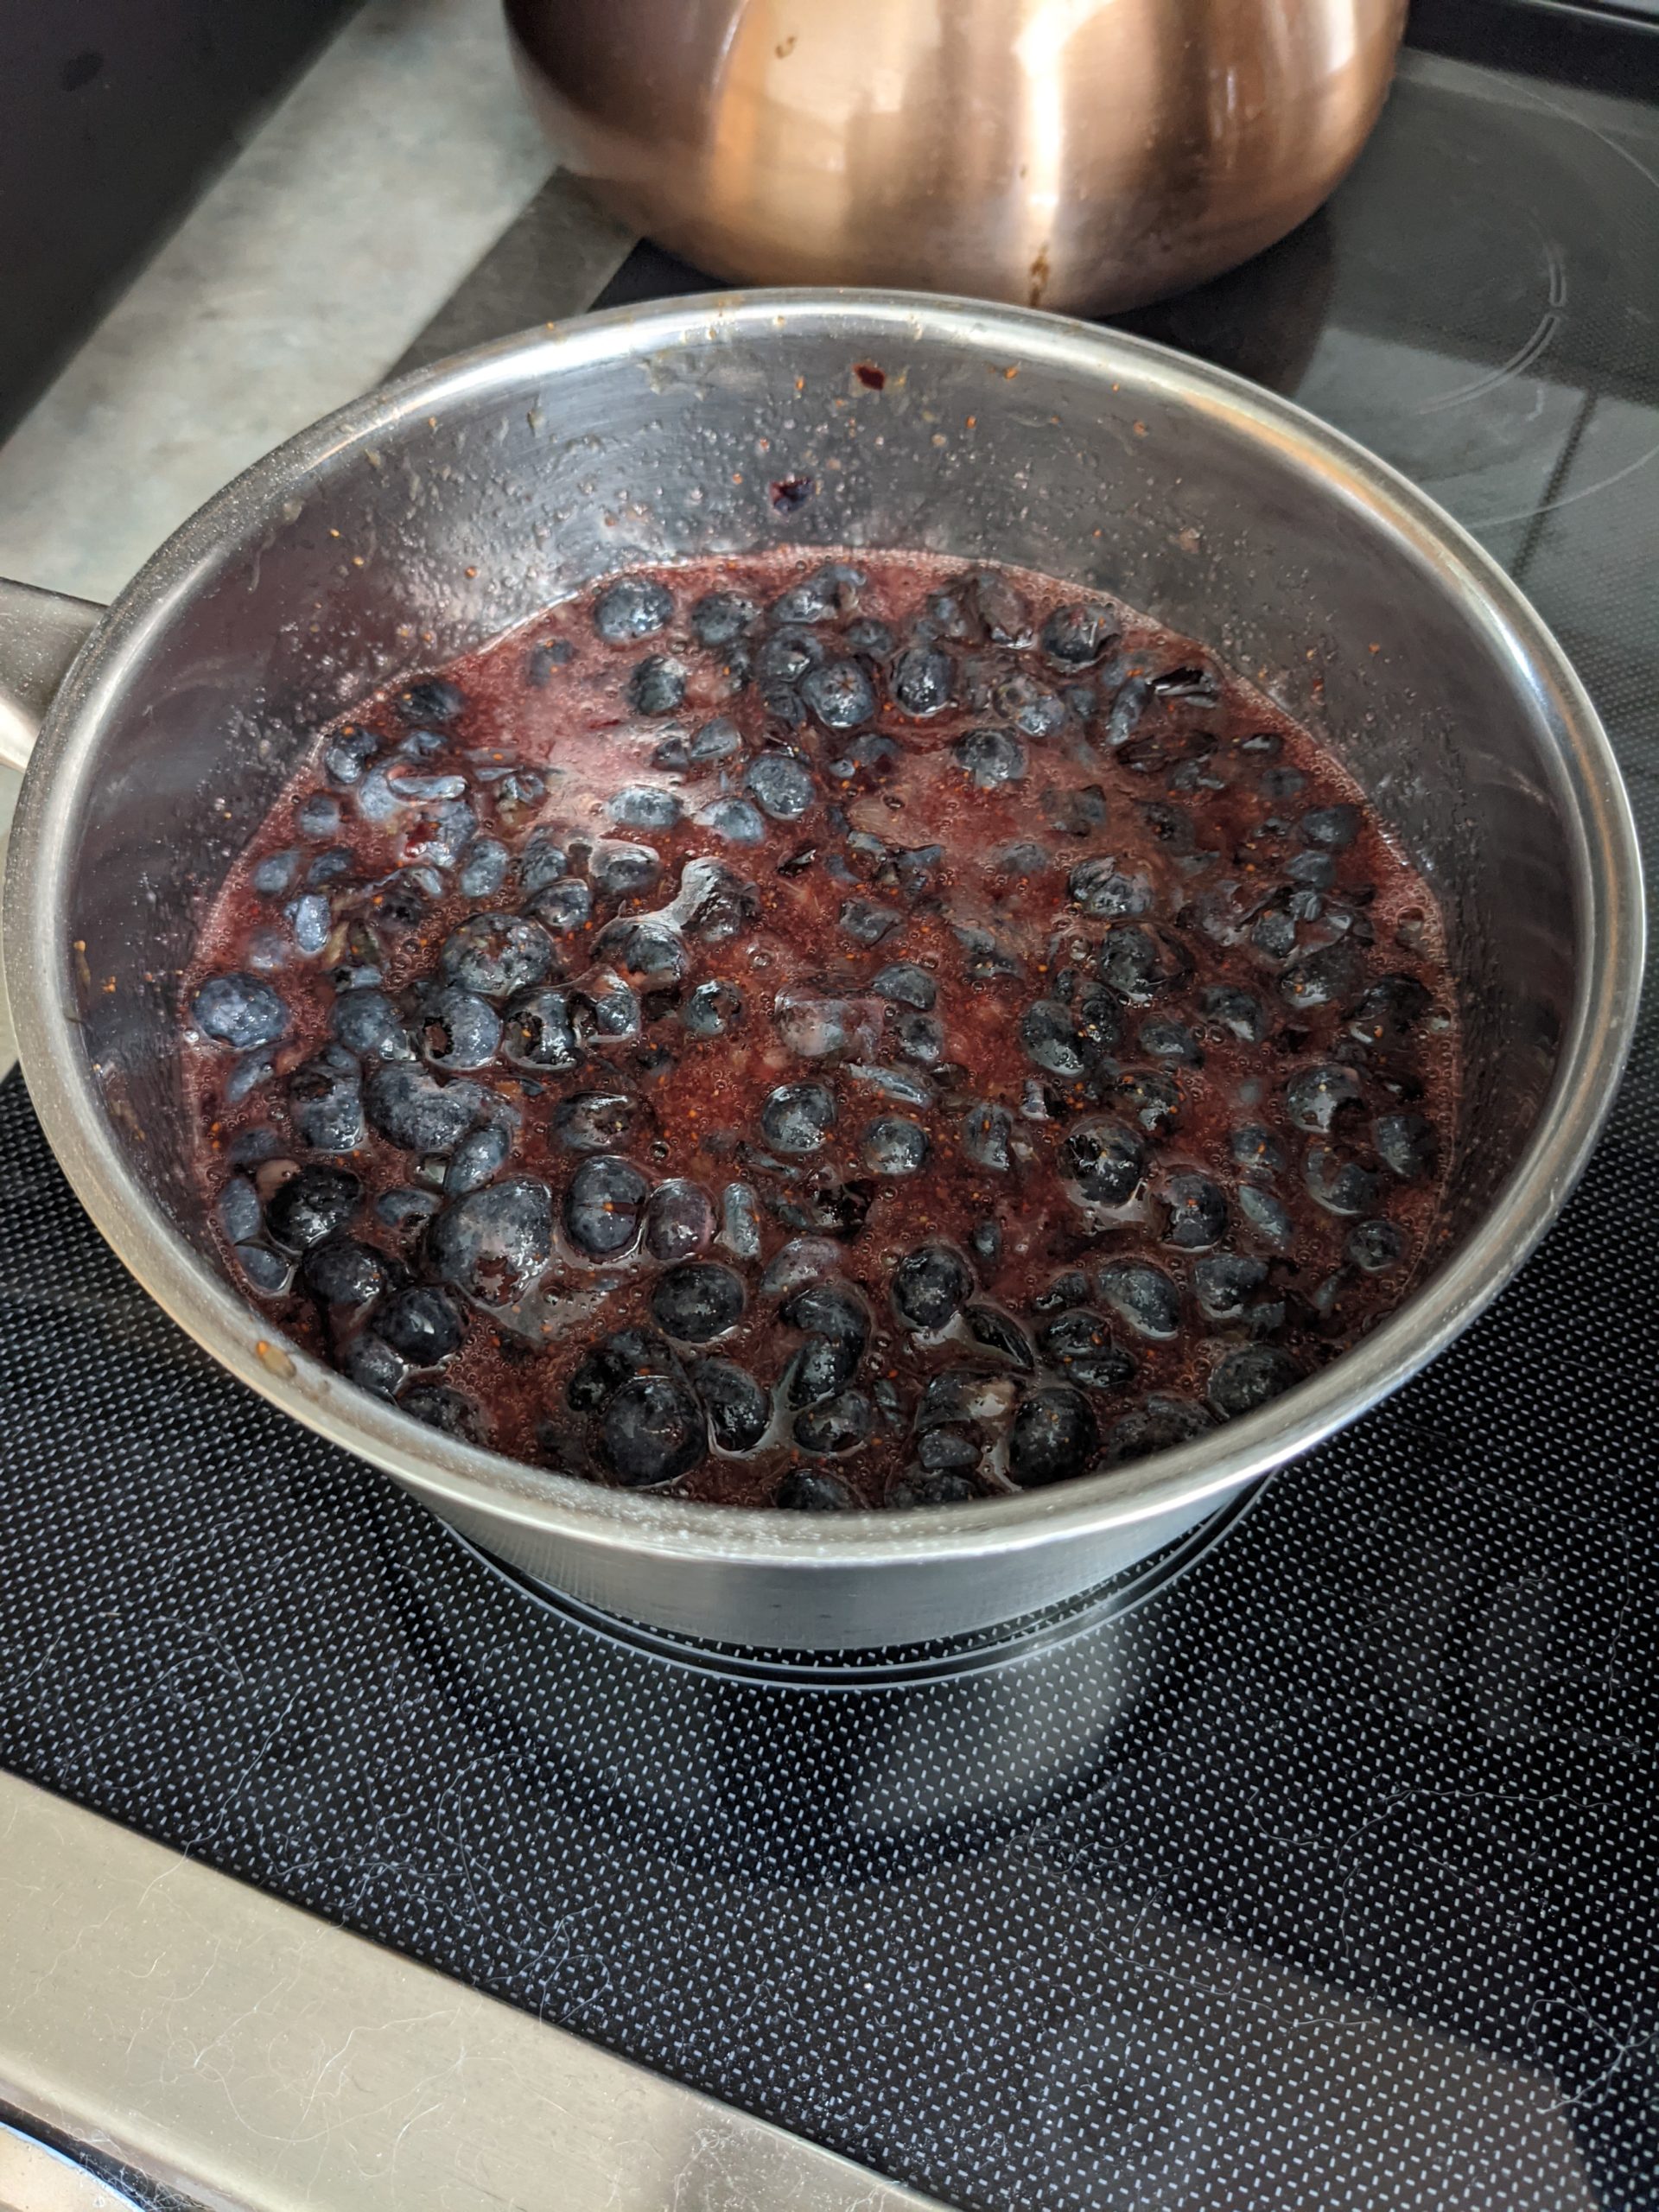
Nicely smashed berries. 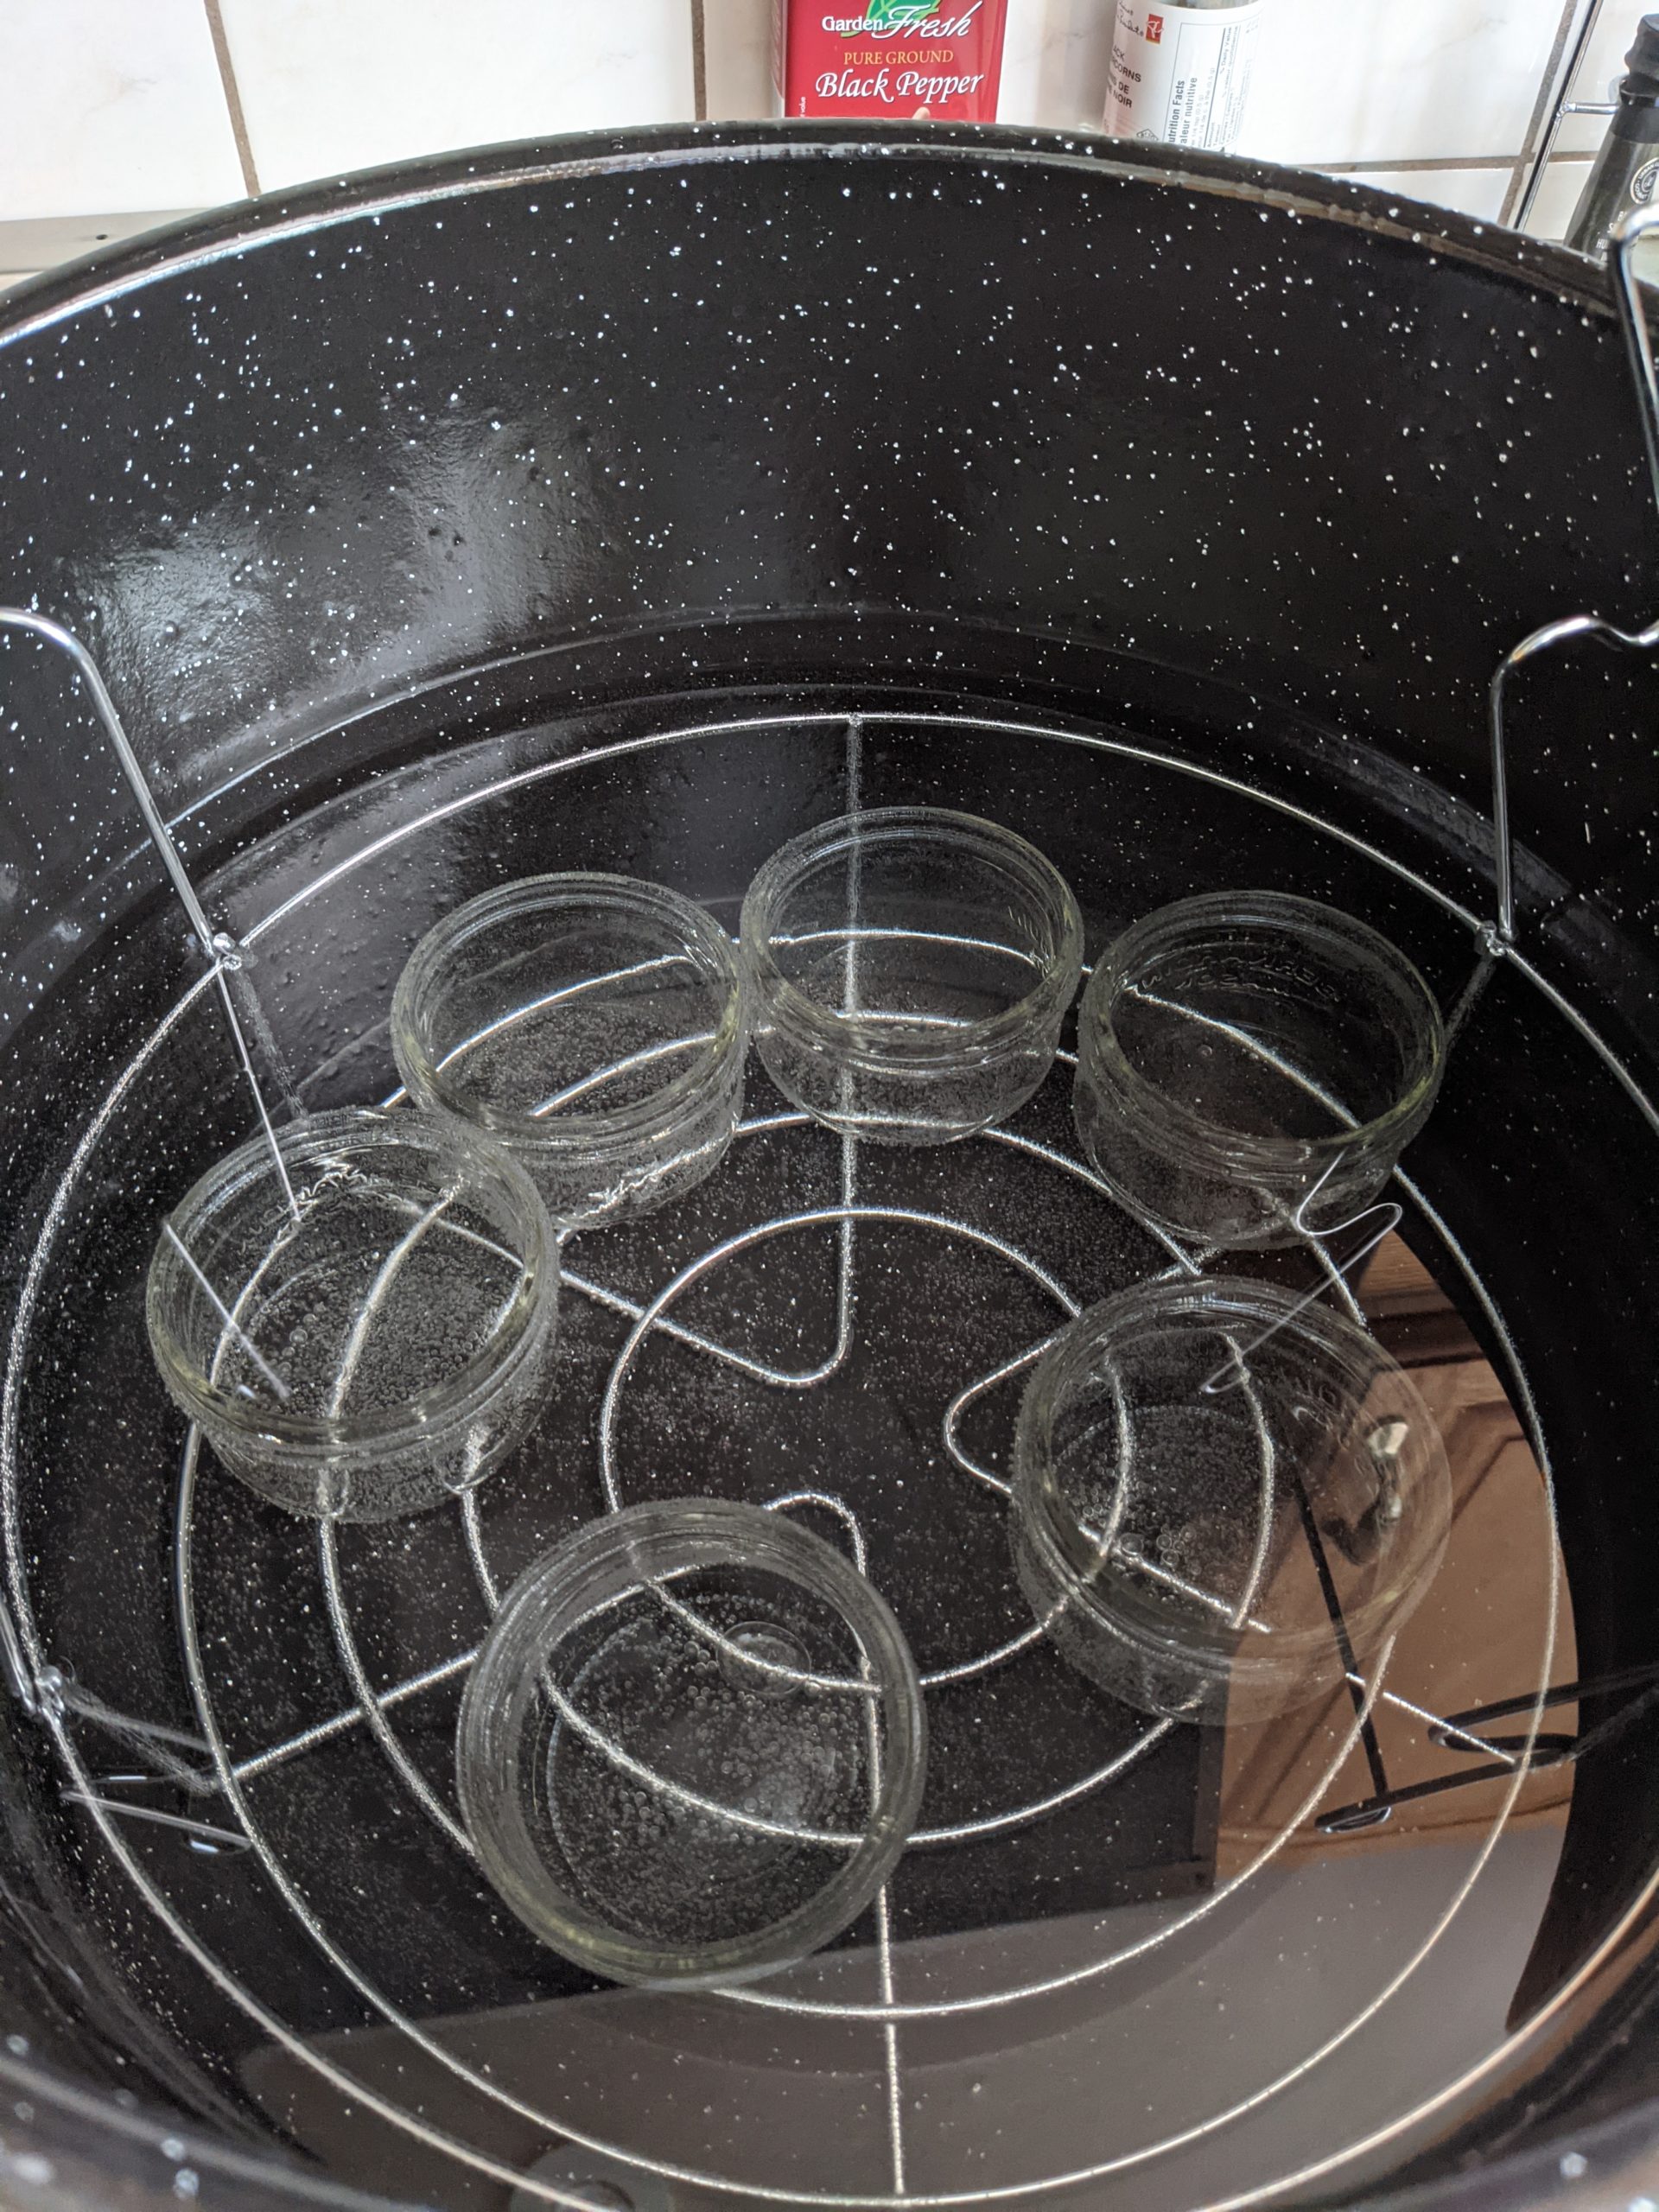
The doomed water bath canner. 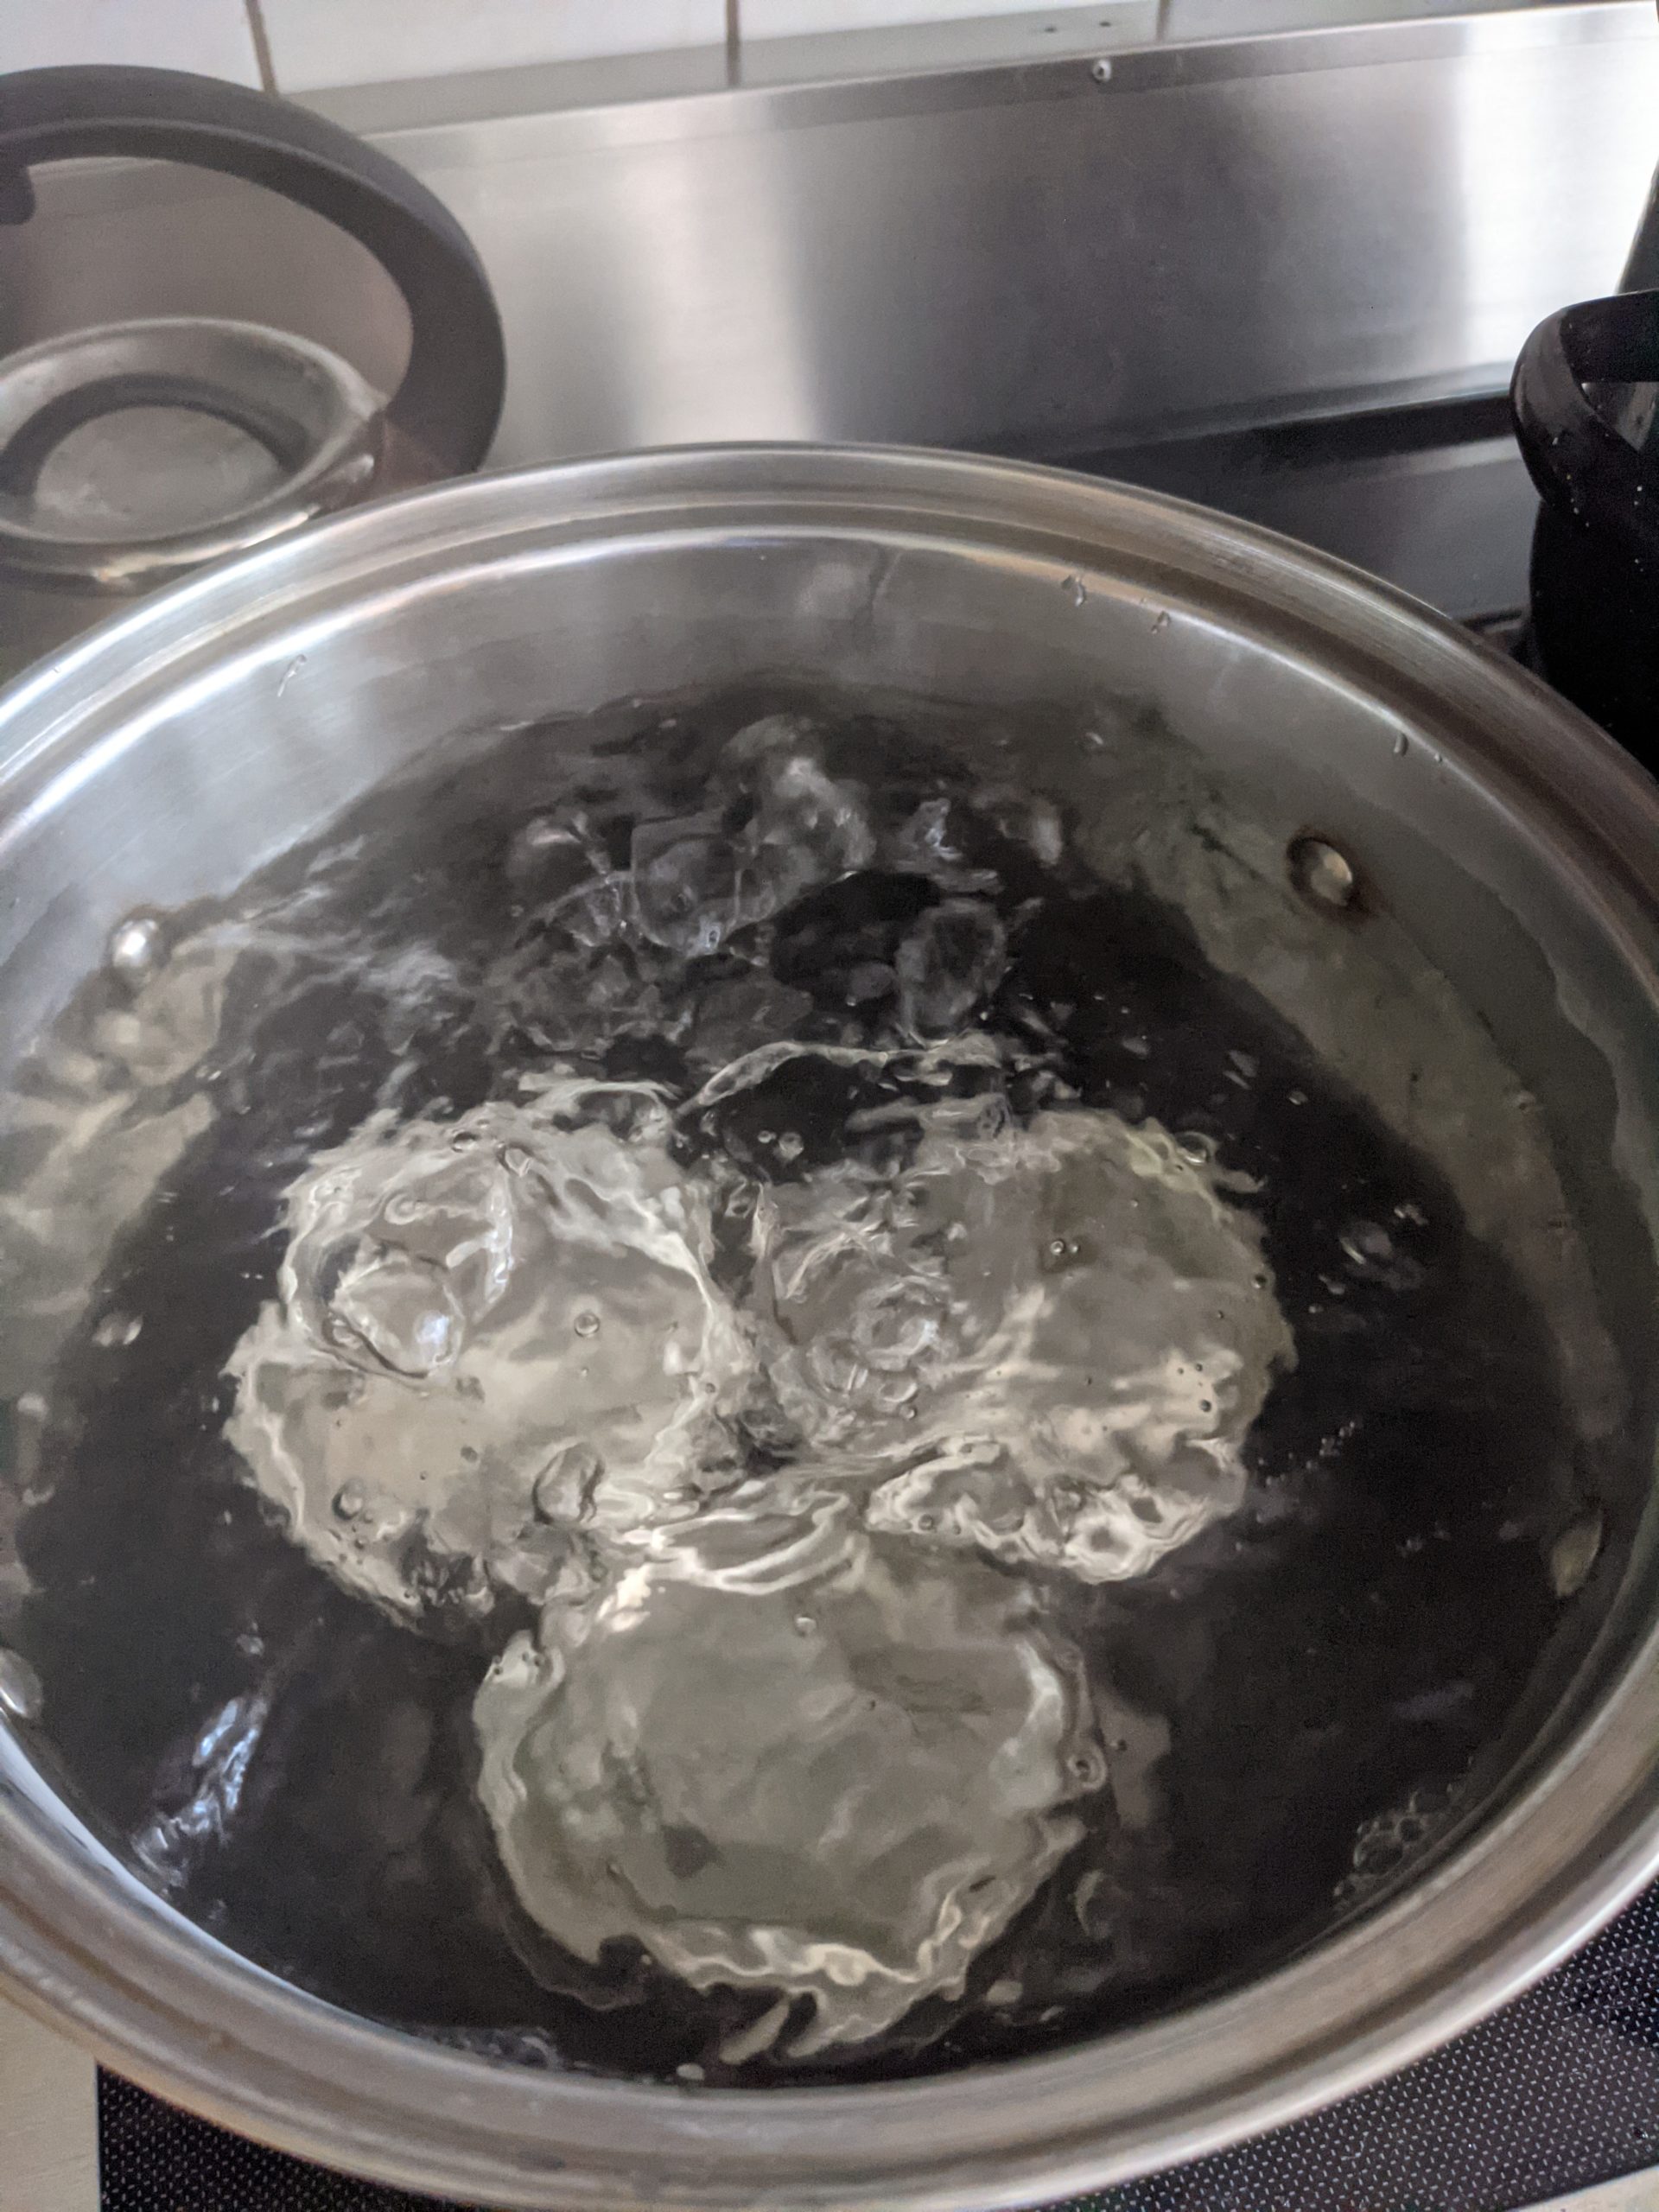
We were only able to do 3 jars at a time, which really slowed down the process. 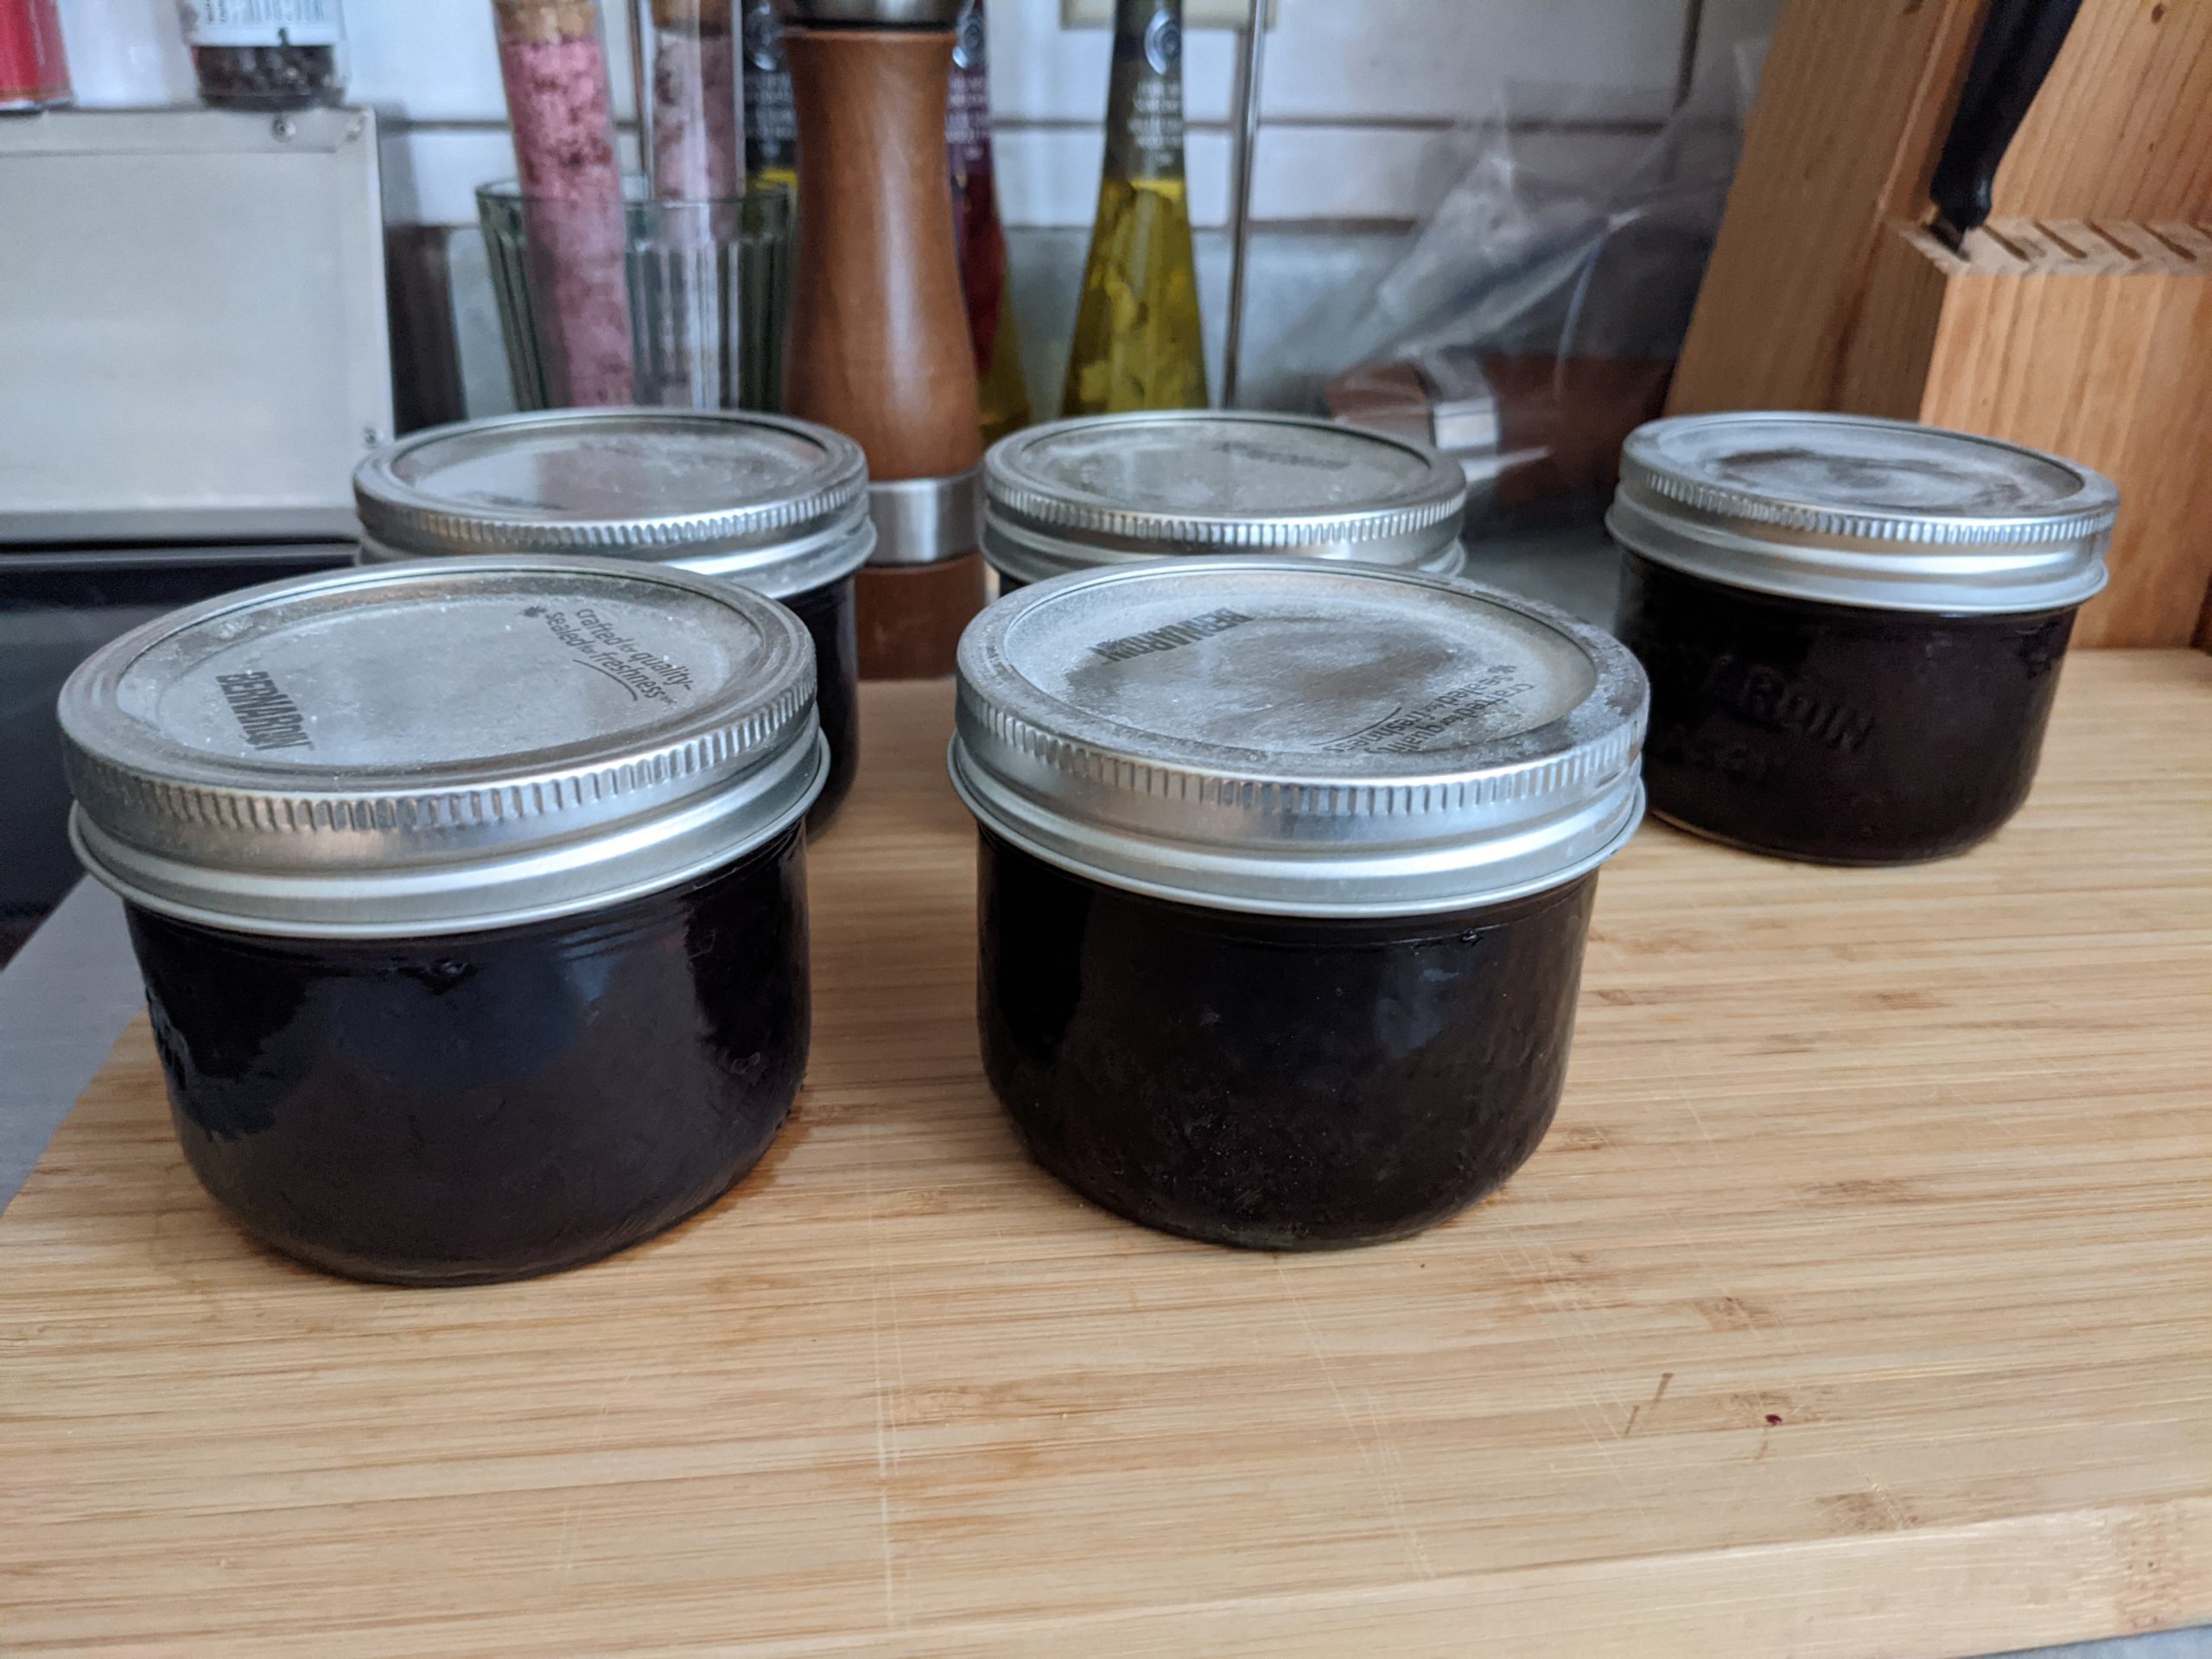
Our 5 jars, with some salts from being boiled in our hard water.
We had been keeping our eye out for when blueberries would finally show up at the farmers market. Blueberry jam is one of T’s favorites, so she was really excited to make some of her own for the first time.
Equipment: We tried to use a new water bath canner, but that didn’t work. We’ll explain more in the lessons learned section below. We ended up reverting to the starter kit used previously.
Recipe: We followed the recipe in the pectin package.
Lessons learned: With summer in full swing, we decided to buy a honking big water bath canner from the hardware store. Unfortunately, it just never managed to get to a boil on our stove, and we had to go back to our stock pot, which can hold maybe 4 skinny jars at a time. Later on in the summer we bought a smaller water bath canner, thinking the big one just didn’t have enough contact with the burner. Well, it turns out we were right – but the small one didn’t have enough contact either.
Both of these water bath canners have rounded bottoms so only the outside edge is in contact with the glass plate of our stove top. Having a stove like this is very new to both of us, so we weren’t aware of what to look for in pot bottoms. I’m grateful we figured this out before we purchased a pressure canner!
The plan is to look at putting together an outdoor kitchen next year so that we can use these water bath canners and be able to can 1 L jars, which isn’t something we can do in our stock pot. We will also look at larger stock pots and try to find a pressure canner with a flat bottom that we can use on our stove.
Yield: 5 jars (250 mL) and a little left over to store in the fridge.
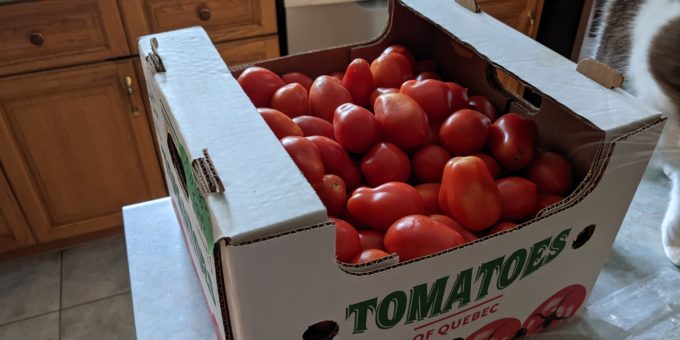
4. August – Tomato Sauce
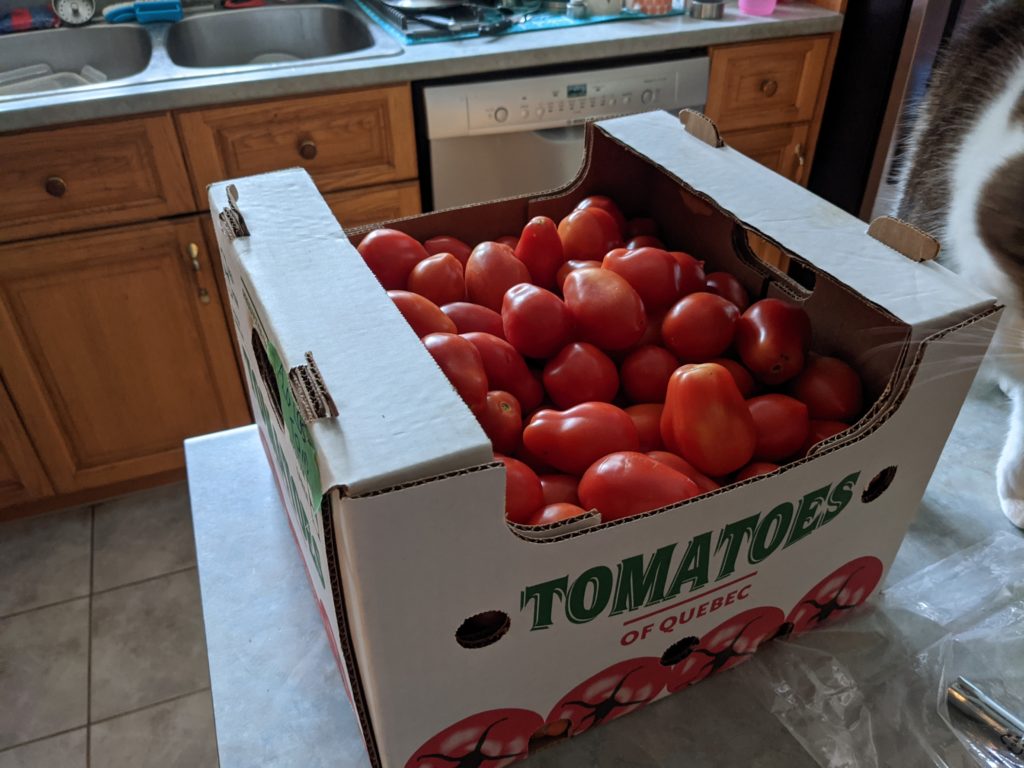
20 lbs of tomatos 
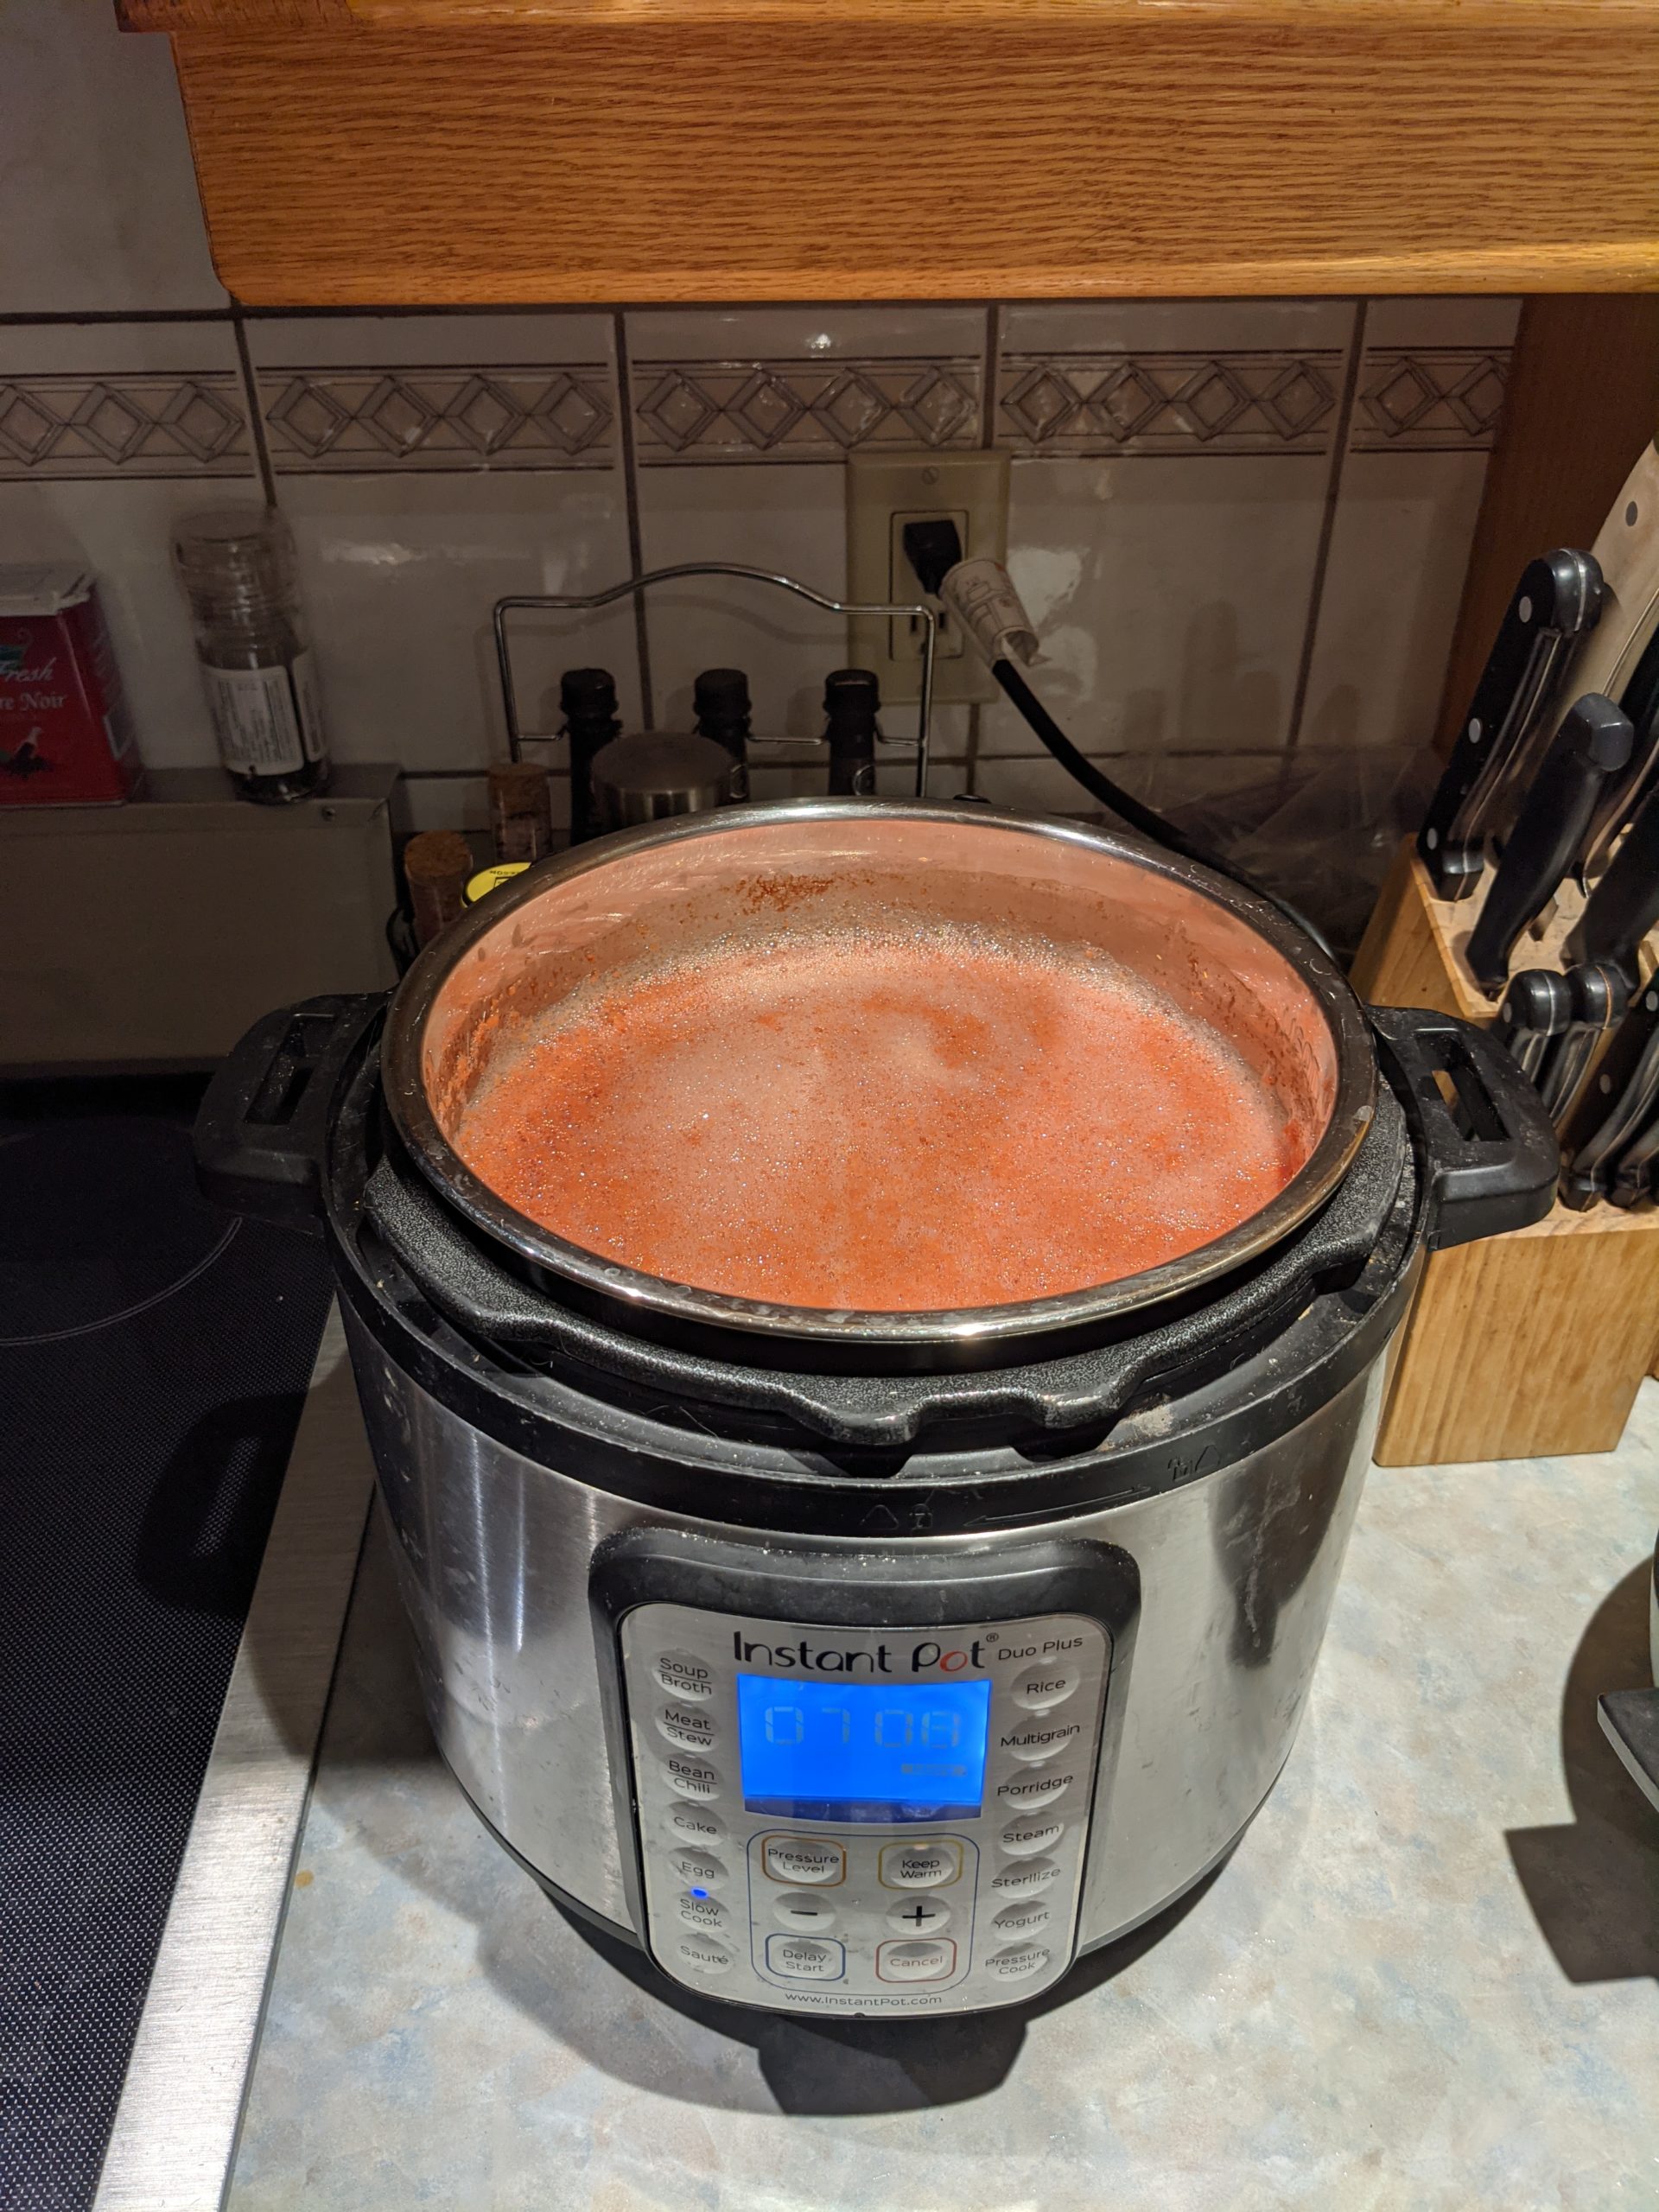
After 10 hours, no real deduction! 
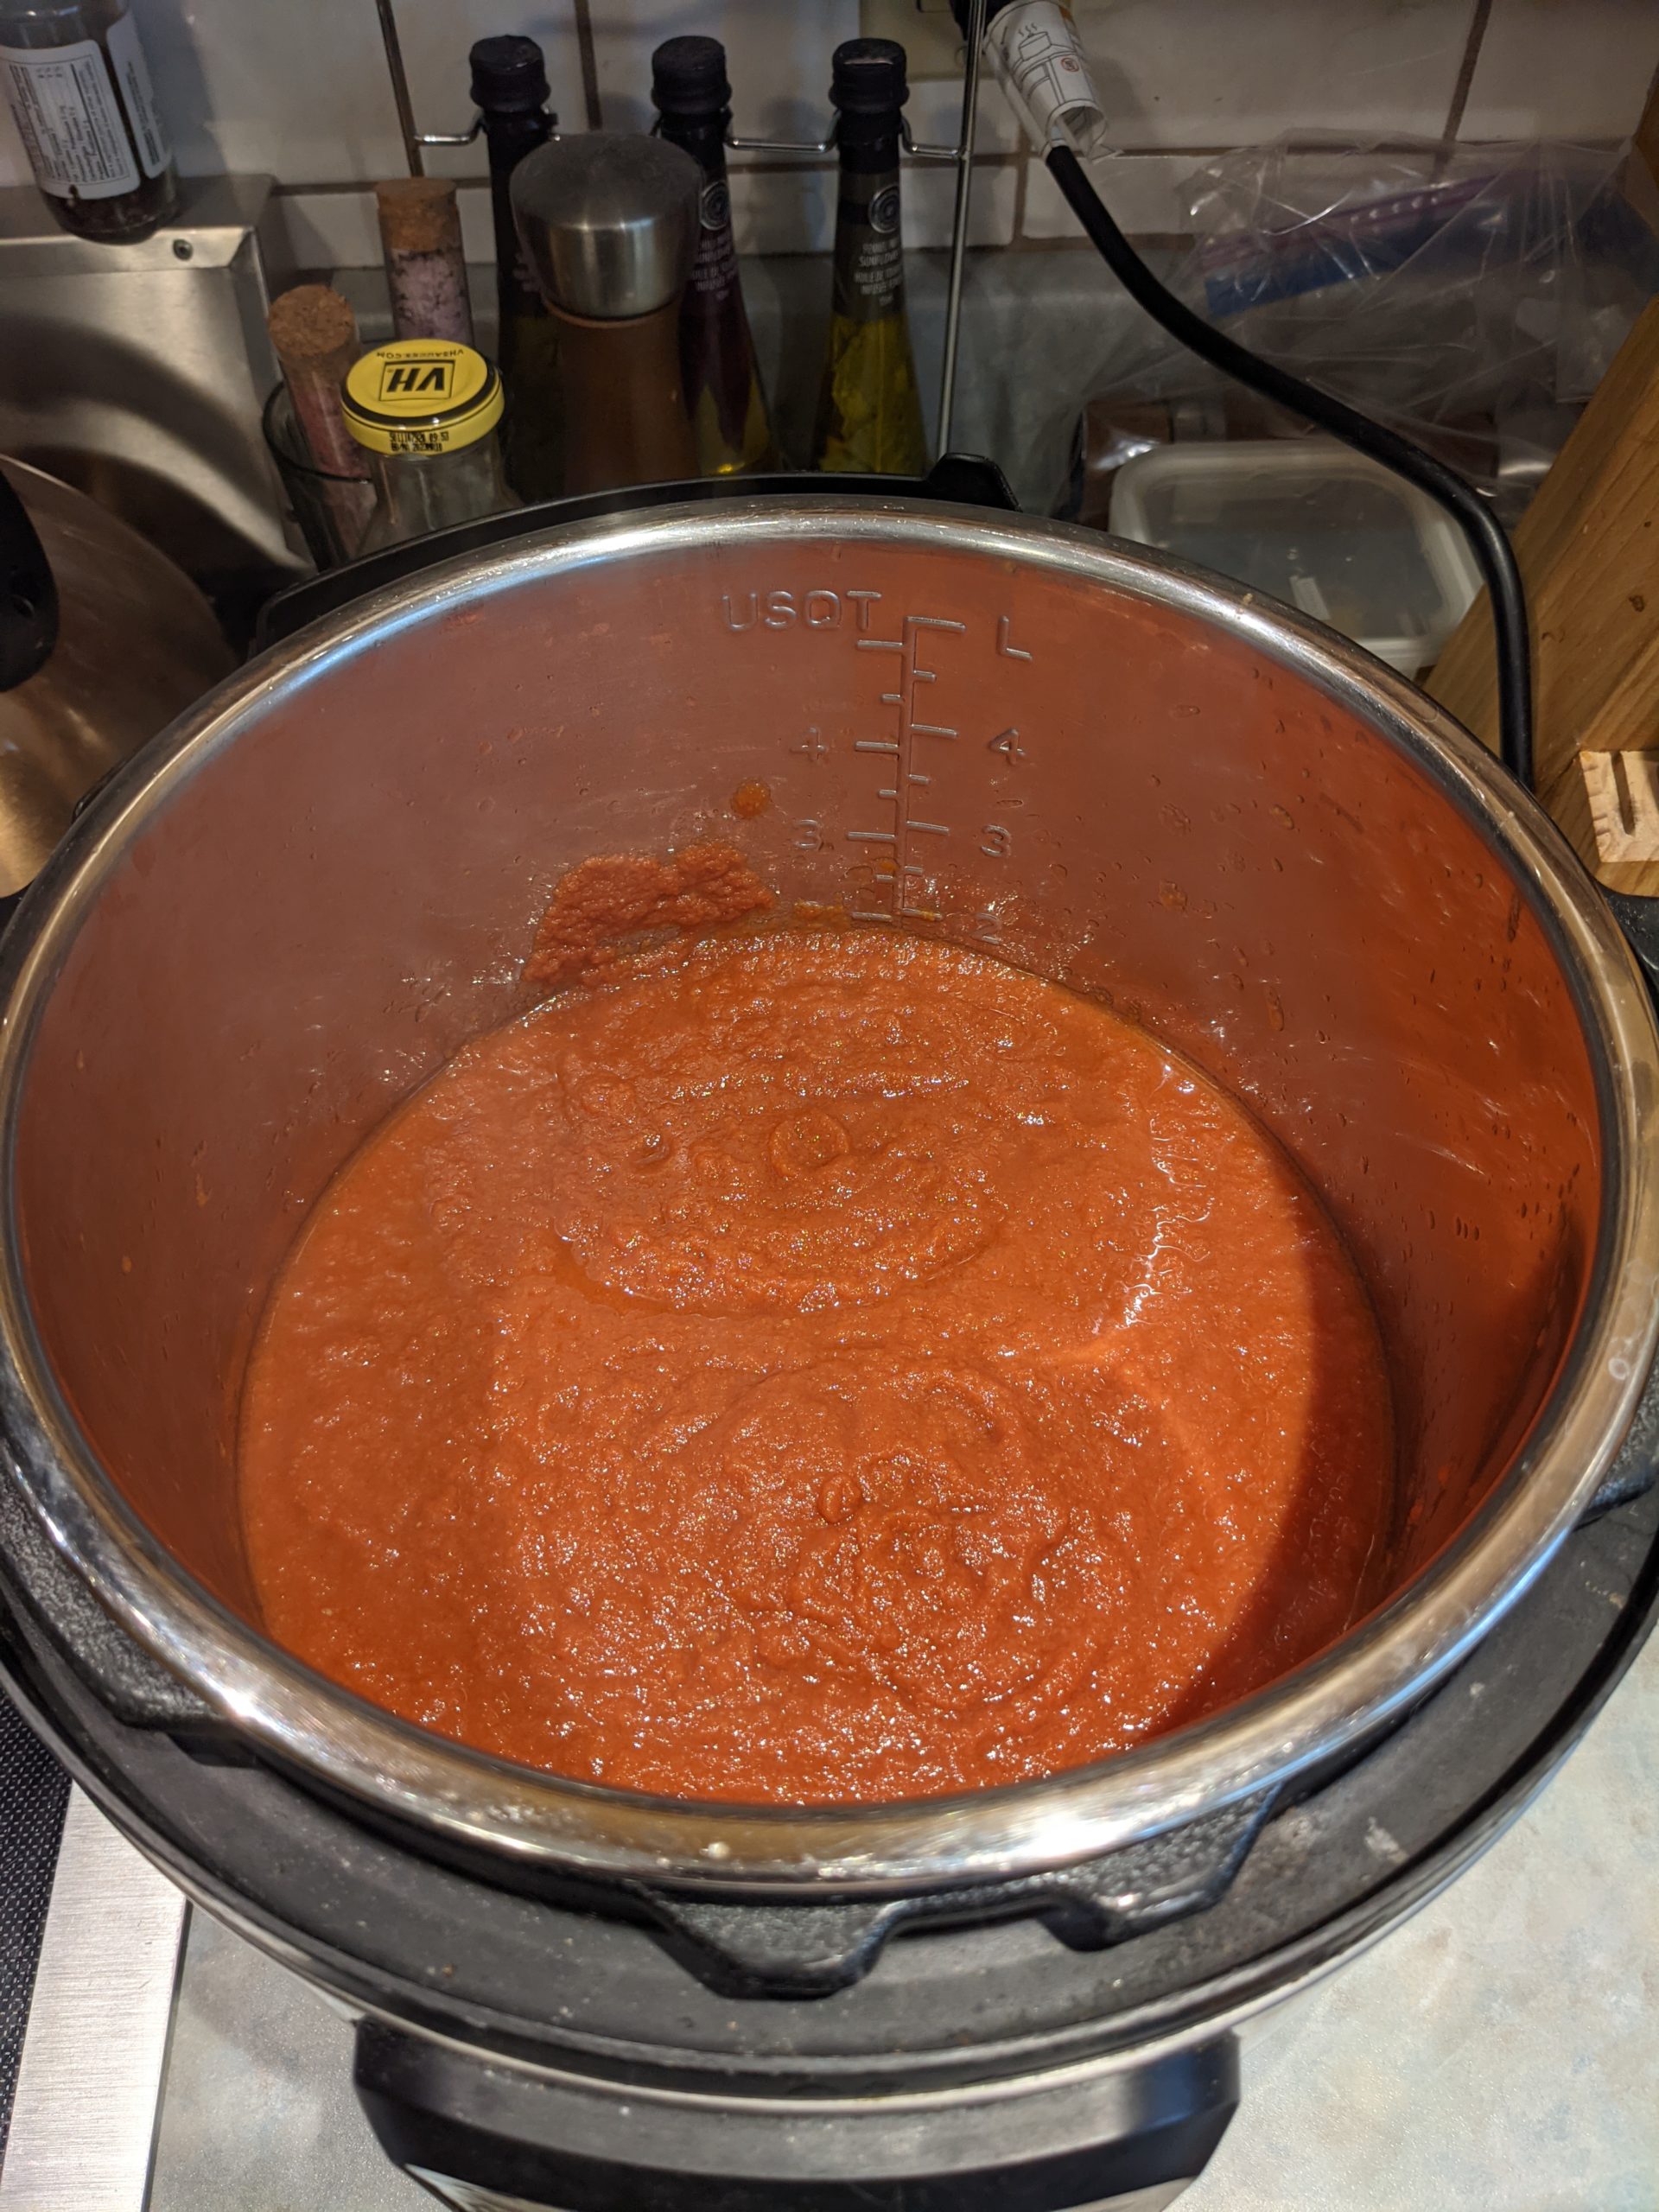
After thickening on the stove.

In late August we attended a workshop about tomatoes at Ottawa Farm Fresh, which included 20 lbs of tomatoes with registration. We took what we learned and put it into action!
Equipment: We used the same starter kit for the actual canning. To make the tomato sauce, we used a high powered blender and the instant pot to keep the sauce hot while packing it.
Recipe: We used a canning recipe from Bernardin to determine the amount of acid (we used lemon juice) and salt needed in each jar. For the process, we followed what we learned at the workshop:
- Core the tomatoes;
- Blend the ever-living-heck out of them;
- Cook until desired thickness.
In the future it is likely we will get a food mill to remove some of the water without needing to use up the energy to boil it away. For our first time this worked great, although it was a multi-day process.
We were making large batches, so I used the stockpot for both cooking and canning, and transferred the sauce to the instant pot to keep warm while packing the jars.
Lessons learned: Initially, we put the blended tomato sauce/juice into the instant pot and let it slow cook overnight with the lid on and set to vent, but this resulted in no real reduction in volume. Using the sauté function on the instant pot didn’t feel like a good idea either – the splattering was too much and it felt like there was no fine control of the boil. We ended up using the large stock put to reduce the liquid. Once reduced, we put it in the instant pot on sauté for the short time it took to pack the jars.
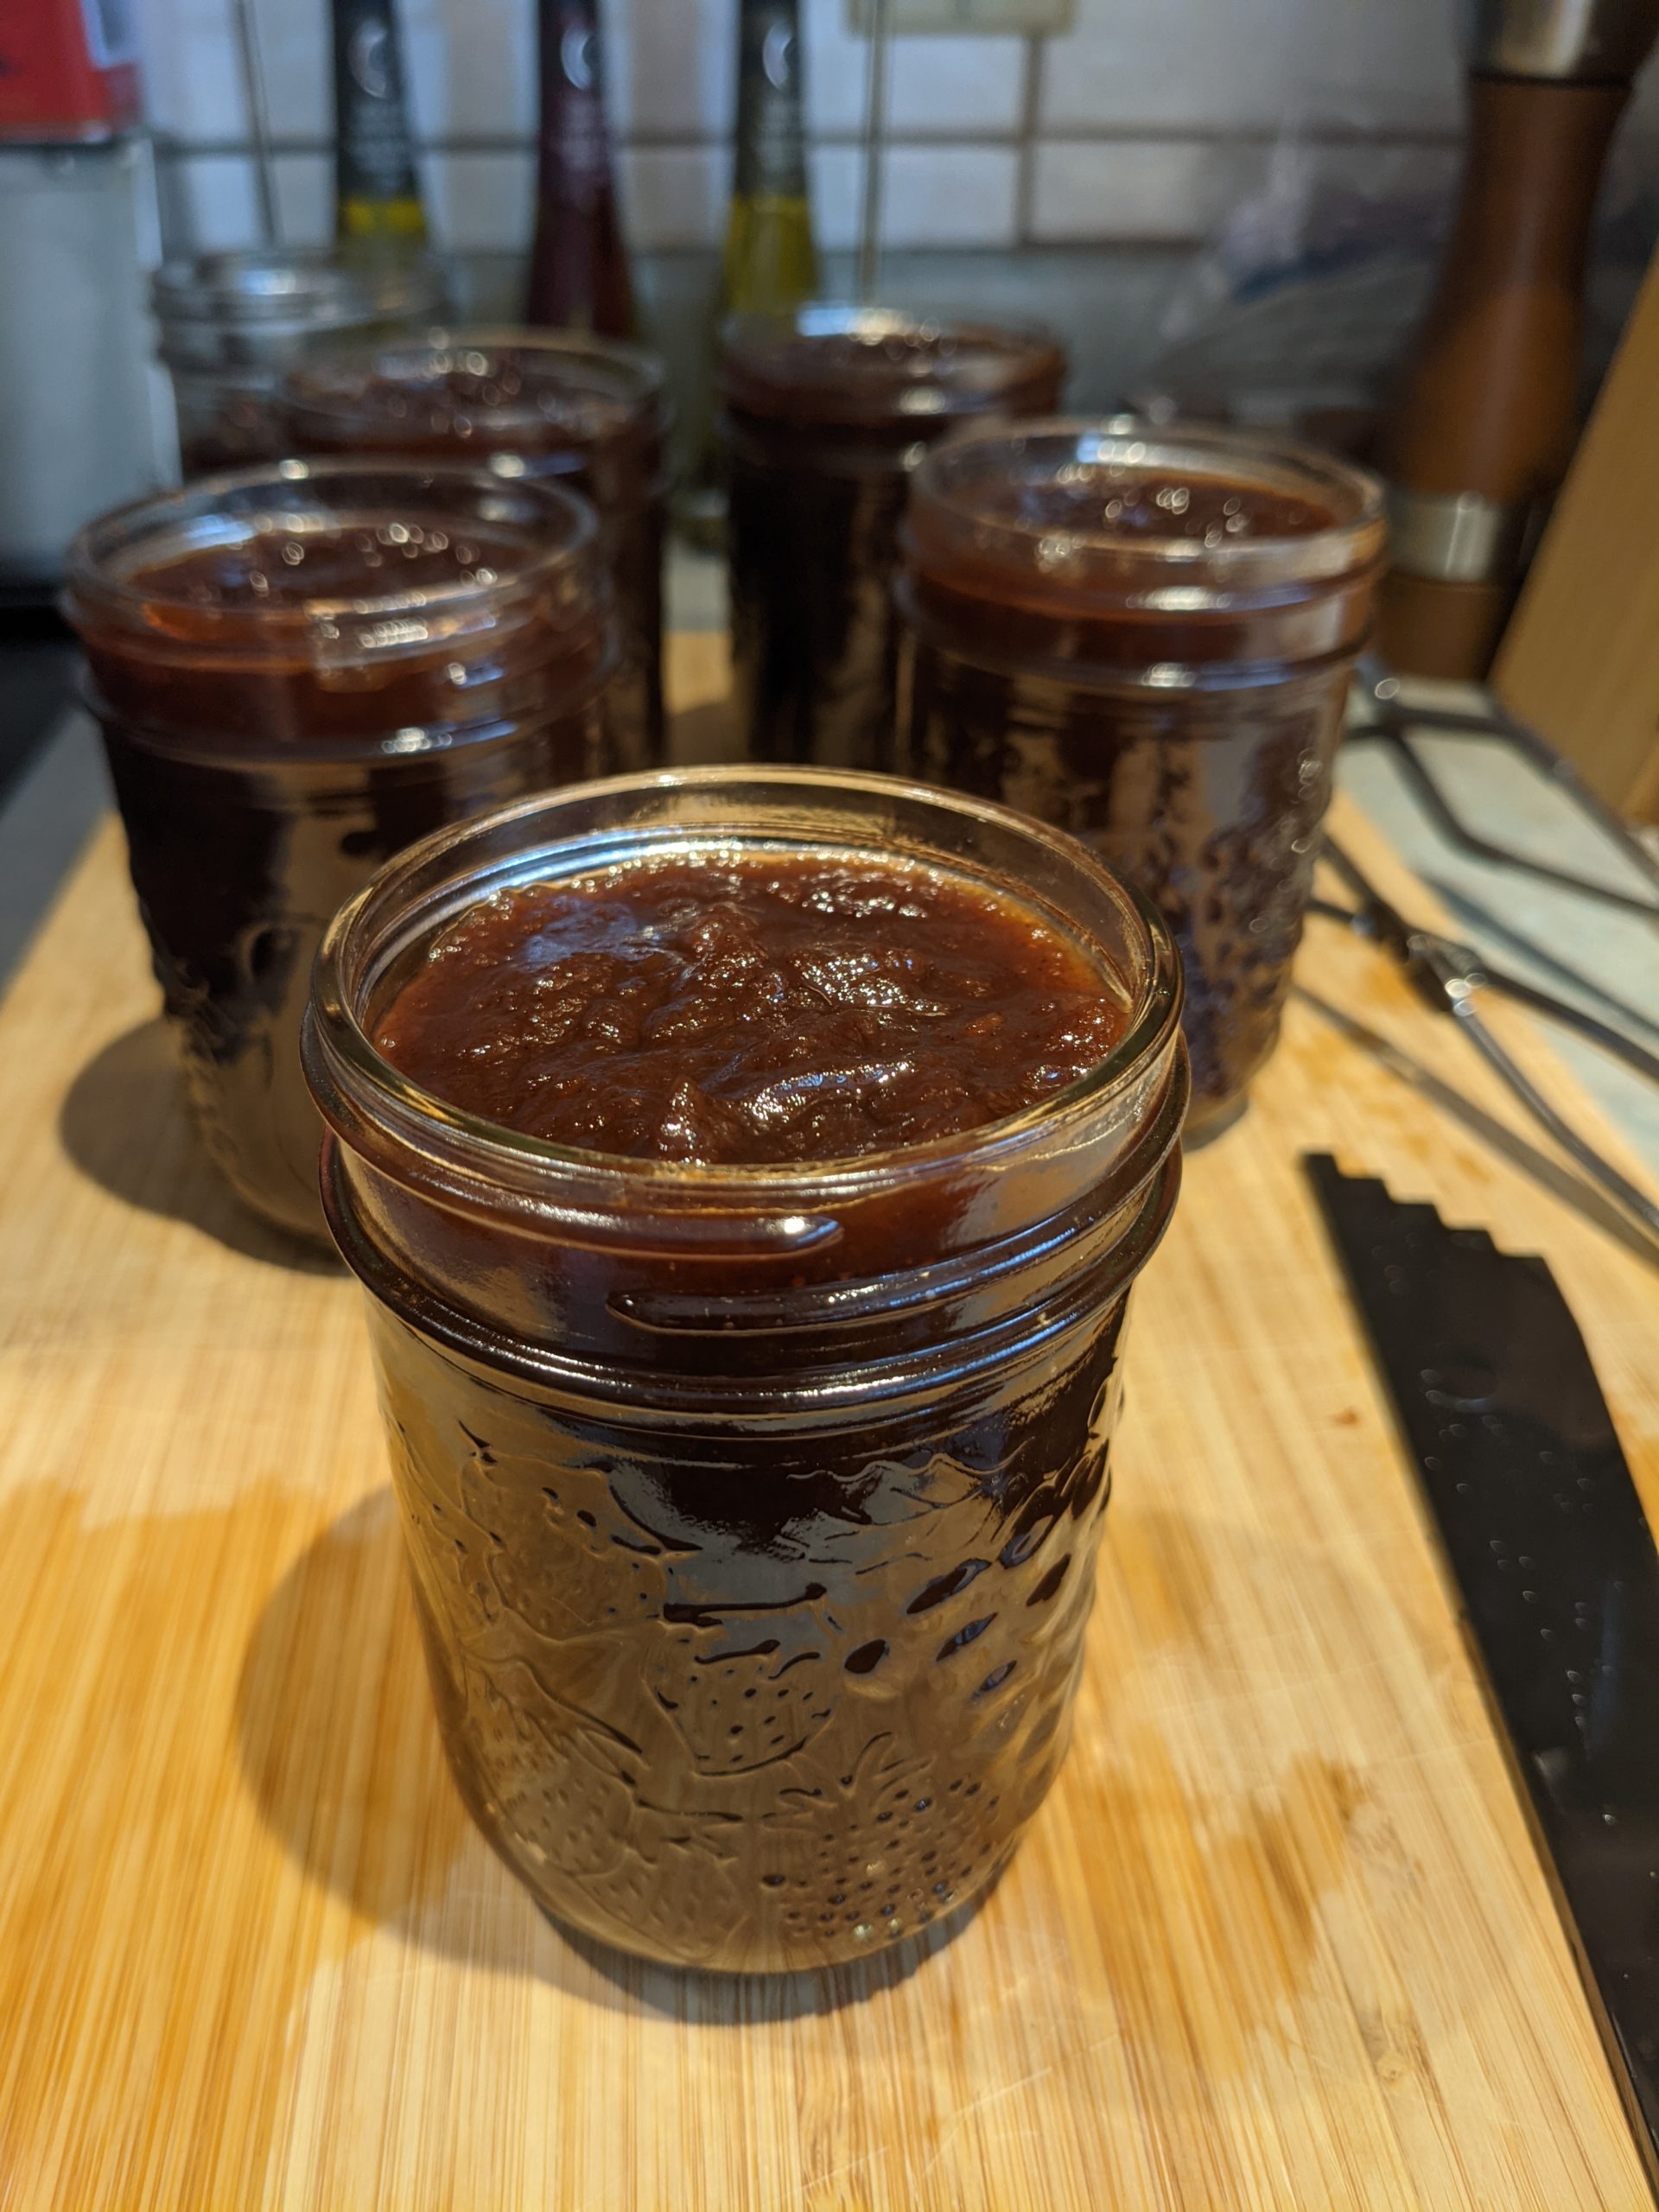
Yield: 6 jars (500 mL) jars.
5. August – Tomato Paste

Thick and flavorful paste!
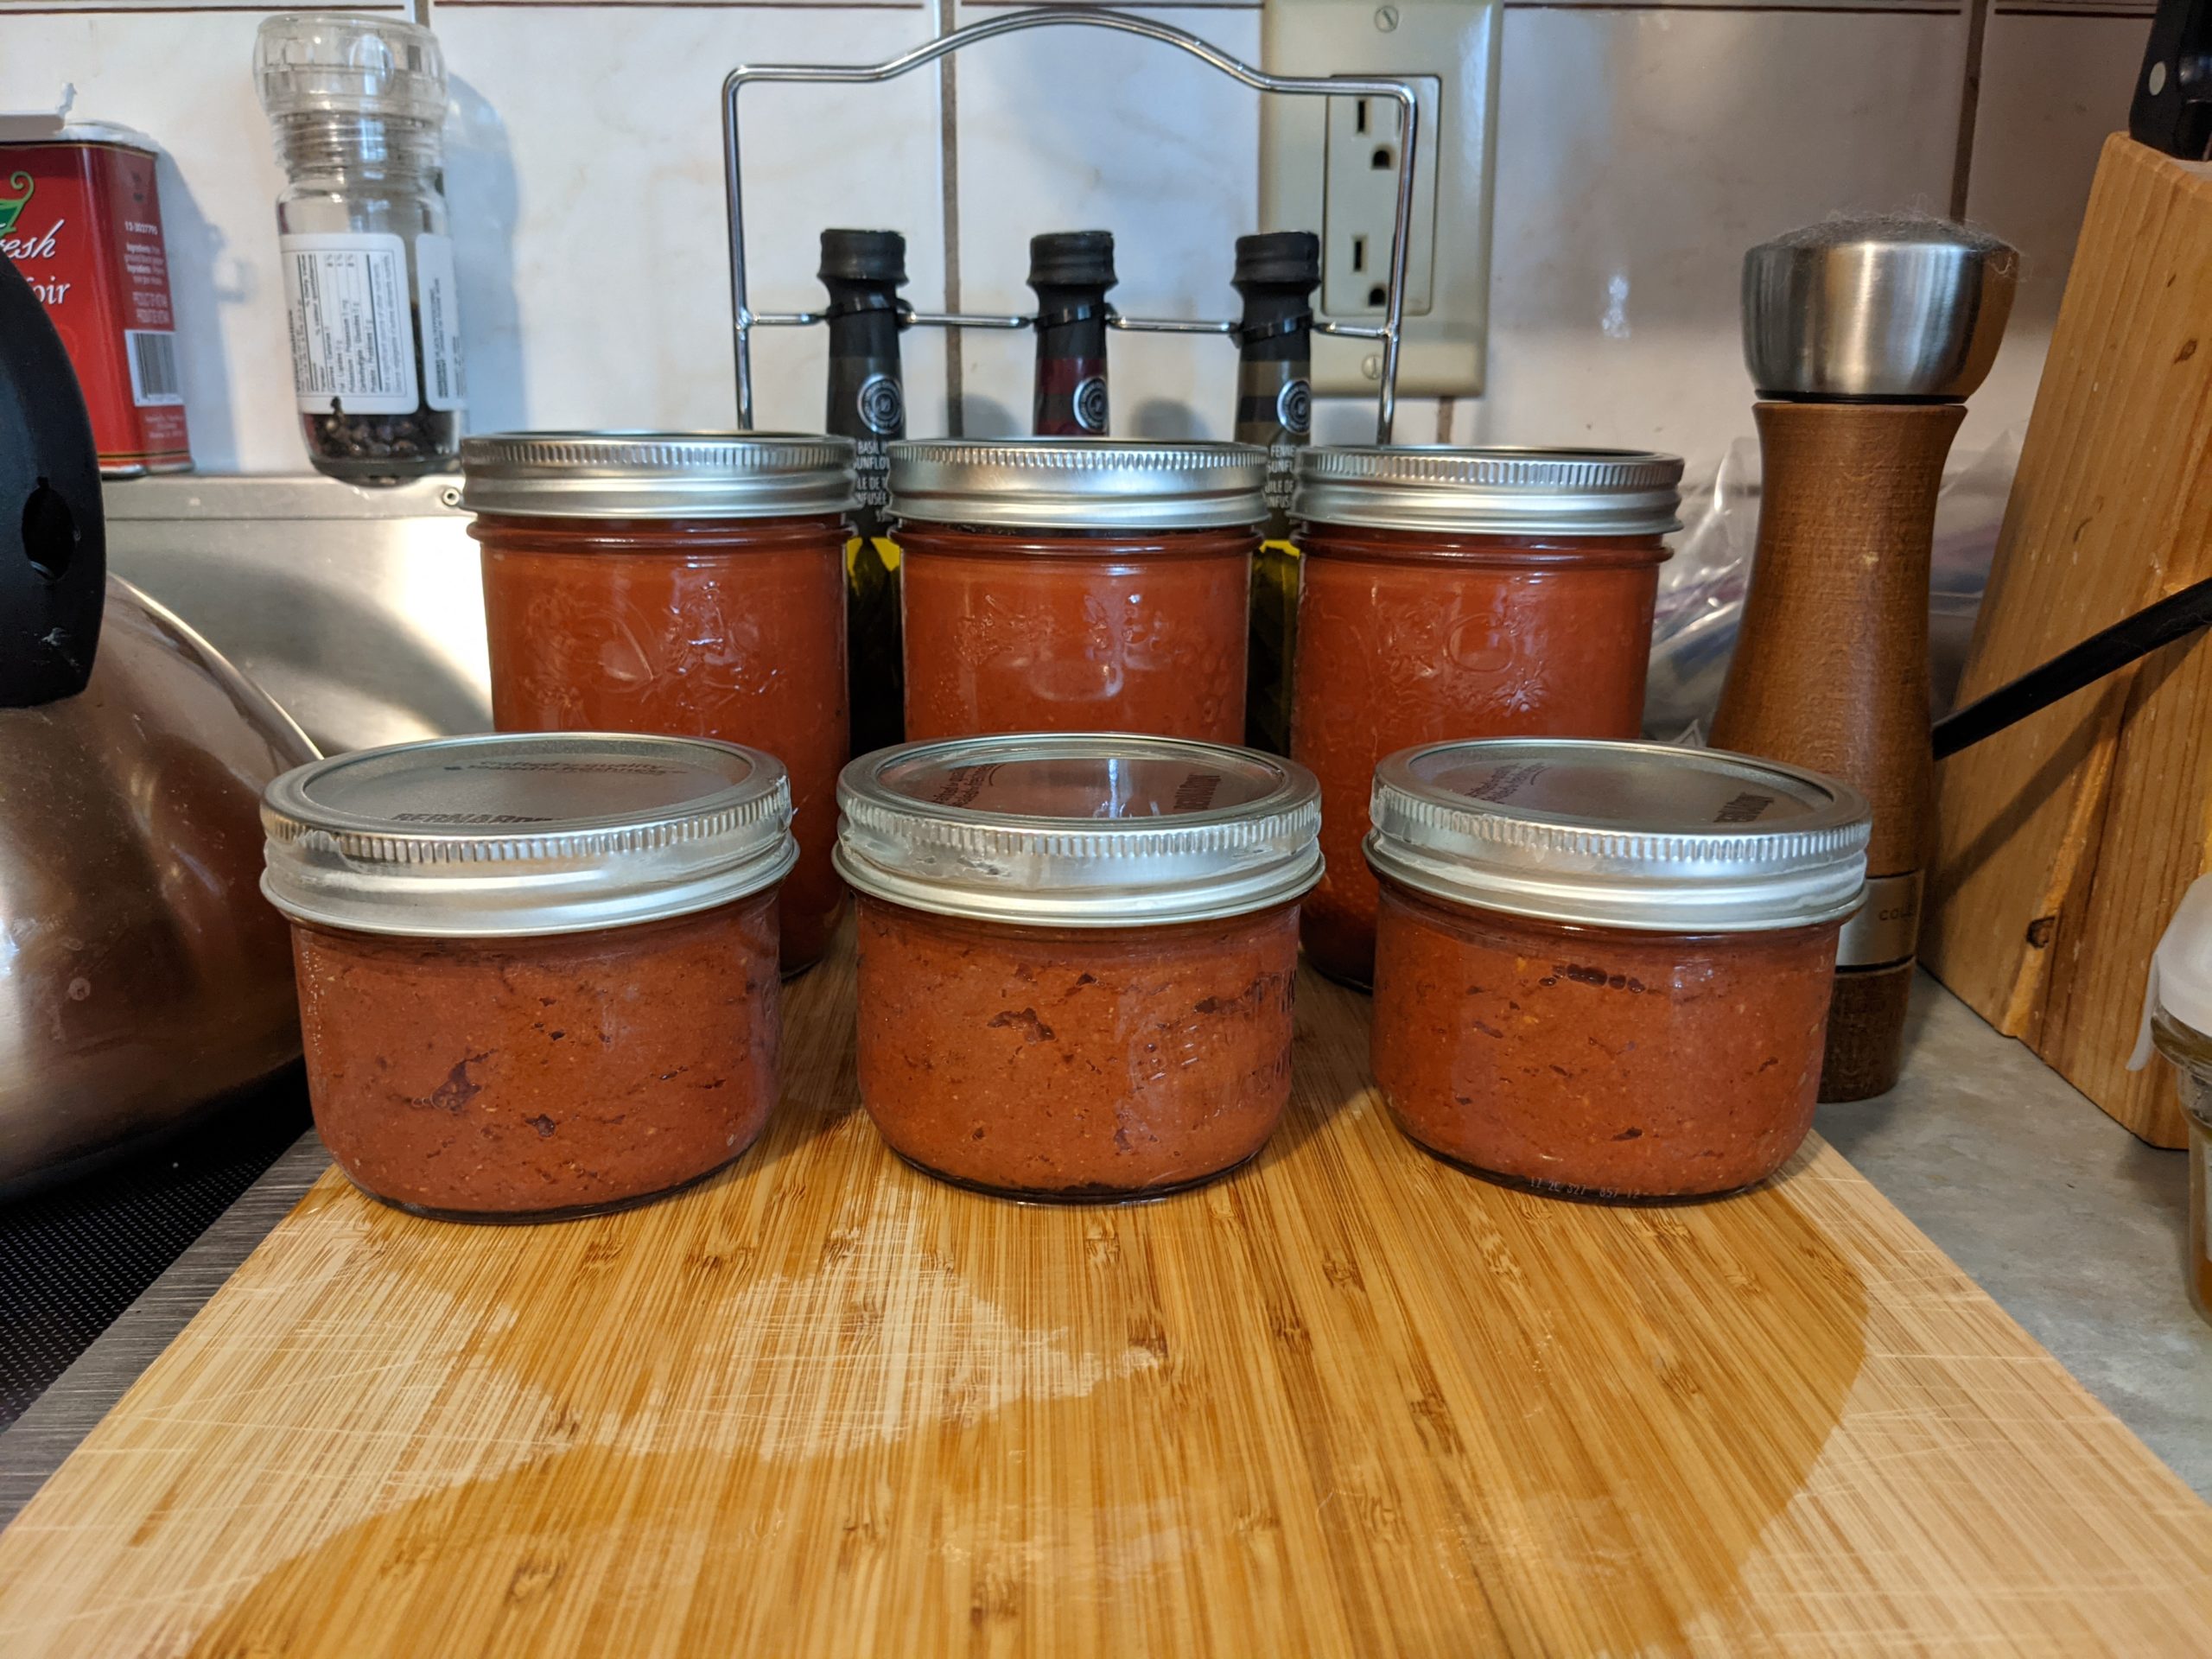
The workshop we attended also covered tomato paste, so we decided to give that a try as well.
Equipment: We used the same starter kit for the actual canning, as well as the oven and a high powered blended.
Recipe: We used a canning recipe from Bernardin to determine the amount of acid (we used lemon juice) and salt needed in each jar. For the process, we:
- Cored, halved and salted the tomatoes;
- Placed them in the oven on convection bake until they were roasted;
- Blend the ever-living-heck out of them;
We found that what came out of the blender was very thick, so we went ahead and placed it in jars right away and processed them.
Lessons learned: This is an extremely tasty product that we will be making more of for sure!
Yield: 4 jars (250 mL) jars. One didn’t seal, so we put it in the freezer.
6. Apple Sauce

Fresh from the tree! 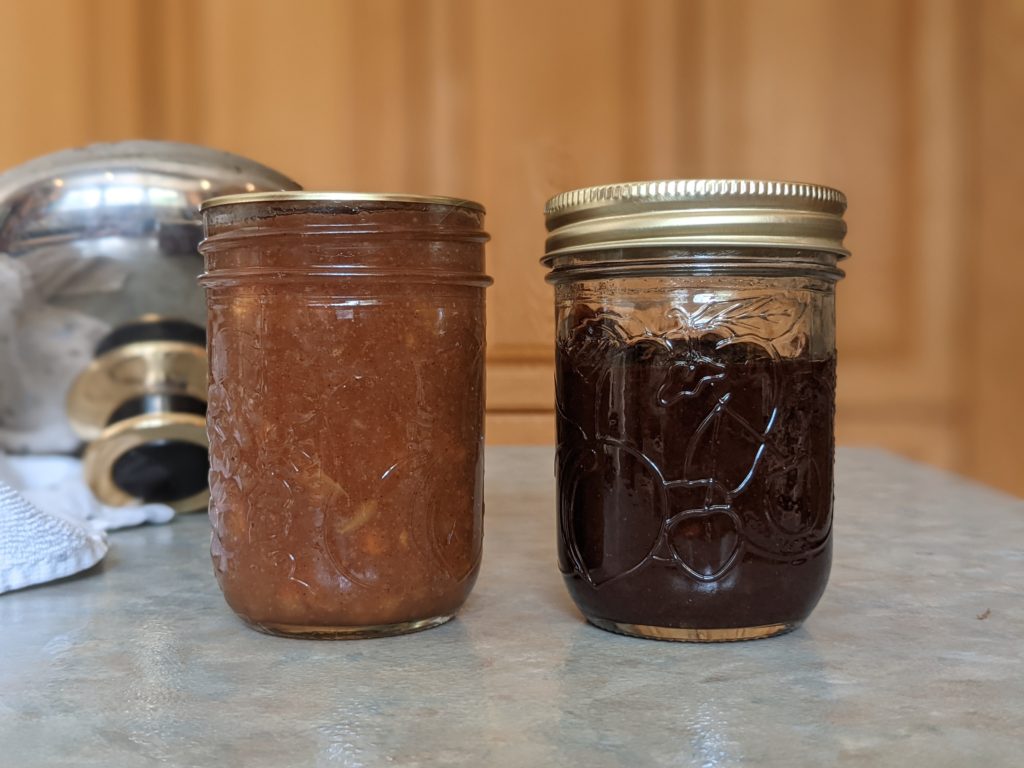
Apple sauce vs apple butter.


We went apple picking in very early September. We ended up with 18 lbs of picked apples and a huge sack of windfall apples we processed and used as well. This apple sauce was not intentional – it came from being too impatient with the apple butter process.
Equipment: We used the same starter kit and stock pot.
Recipe: This time, we used the NCHFP Apple Butter Recipe. We didn’t have brown sugar, so we substituted white for all of it.
Lessons learned: BE PATIENT. We did this recipe with a houseguest which made the processing of the fruit super easy, but we got impatient with the cooking of the fruit. It took several days to get to the point you see in the photo, but that is likely because we tied to cook too much in too small of a pot, never really letting it get hot enough. Because we wanted to be out doing things with our guest, we decided to just process what we had. It’s great apple sauce, but not apple butter.
Yield: 6 jars (250 mL) jars, plus one that didn’t seal.
7. Actual apple butter
Transferred to bowls to make the canning easier 
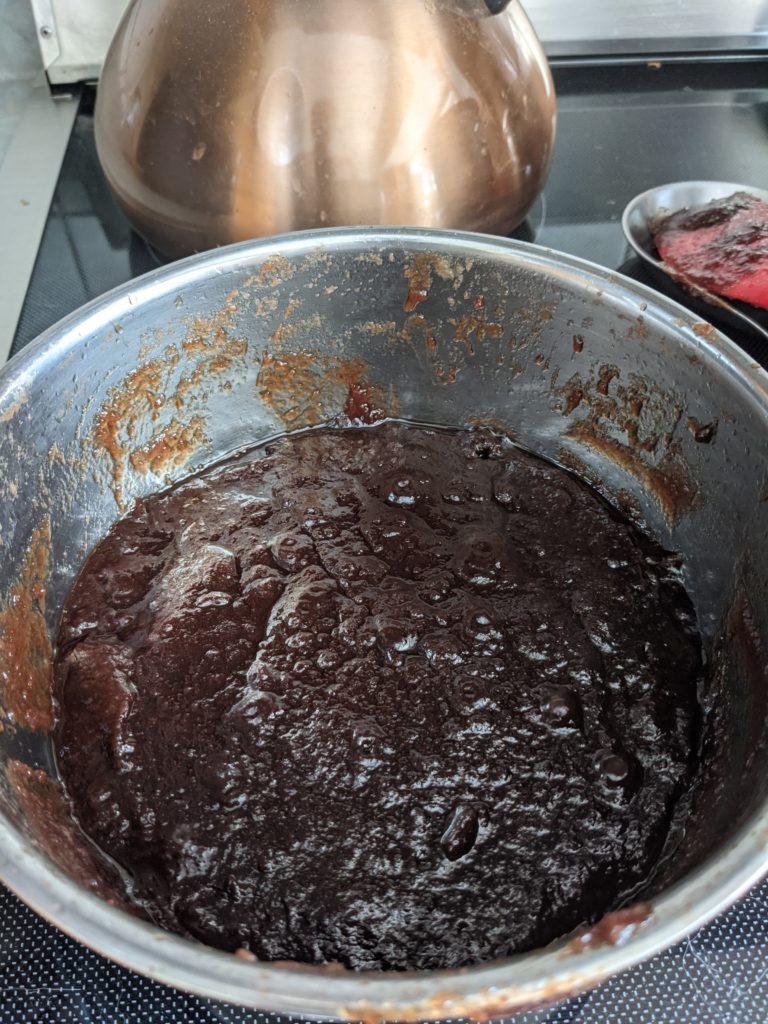
Heaven on earth.

The same process as above, but we cooked it to the proper doneness and were rewarded with four glorious jars of apple butter. We will definitely make more next year.
Yield: 4 jars (250 mL) jars, plus one that didn’t seal.
8. Apple Jelly
I am willing to admit we bought too many apples. In the weeks following our apple excursion, it became apparent that we needed to process what remained. We looked for something simple but different than what we had done so far, and settled on an apple jelly. We were drawn in by the fact that we didn’t need to peel or core the apples.
It did not set. So, we have some apple syrup which has been decently good on oats.
Equipment: We used the same starter kit and stock pot, as well as a nut milk bag in lieu of a jelly bag.
Recipe: We used this apple jelly recipe from the NCHFP.
Lessons learned: I’m not sure if the failure to set was due to the maturity of the apples, or not boiling it long enough. The pot I used was too small, so am not sure I ever hit the proper temperature to initiate the elling process, as I was always fighting the boiling over. Next time I try this I will use a much bigger pot, and probably end up using pectin anyways.
Yield: 4 (250 mL) jars.
What’s next?
We are probably done canning for the year. Jars and lids are scarce, and we didn’t have much of a yield from the garden. Our goals next year are:
- To have enough of a harvest to need to can some of it;
- To get an outdoor kitchen set up for large batches of water bath canning (prep food inside, can outside);
- Learn to pressure can.
Until then, we’ll just enjoy the fruit of this year’s labour!